
Sip-and-puff is one of many ways someone can control a device without having to use their hands, and is a useful method for some people with certain disabilities. A puff is blowing into the tube, and a sip is sucking from the tube. In both cases the required pressure is tuned to the user for ease of use and can be very light to lessen fatigue. There are many sip-and-puff controls on the market for various things, but they can be expensive or difficult to customize. What I’m showing here is an extremely affordable, simple to build, and fully customizable sip-and-puff setup used to control two different remote control toys that have very different controls.
In this first setup the toy will move forward during a puff and will reverse to the left during a sip.
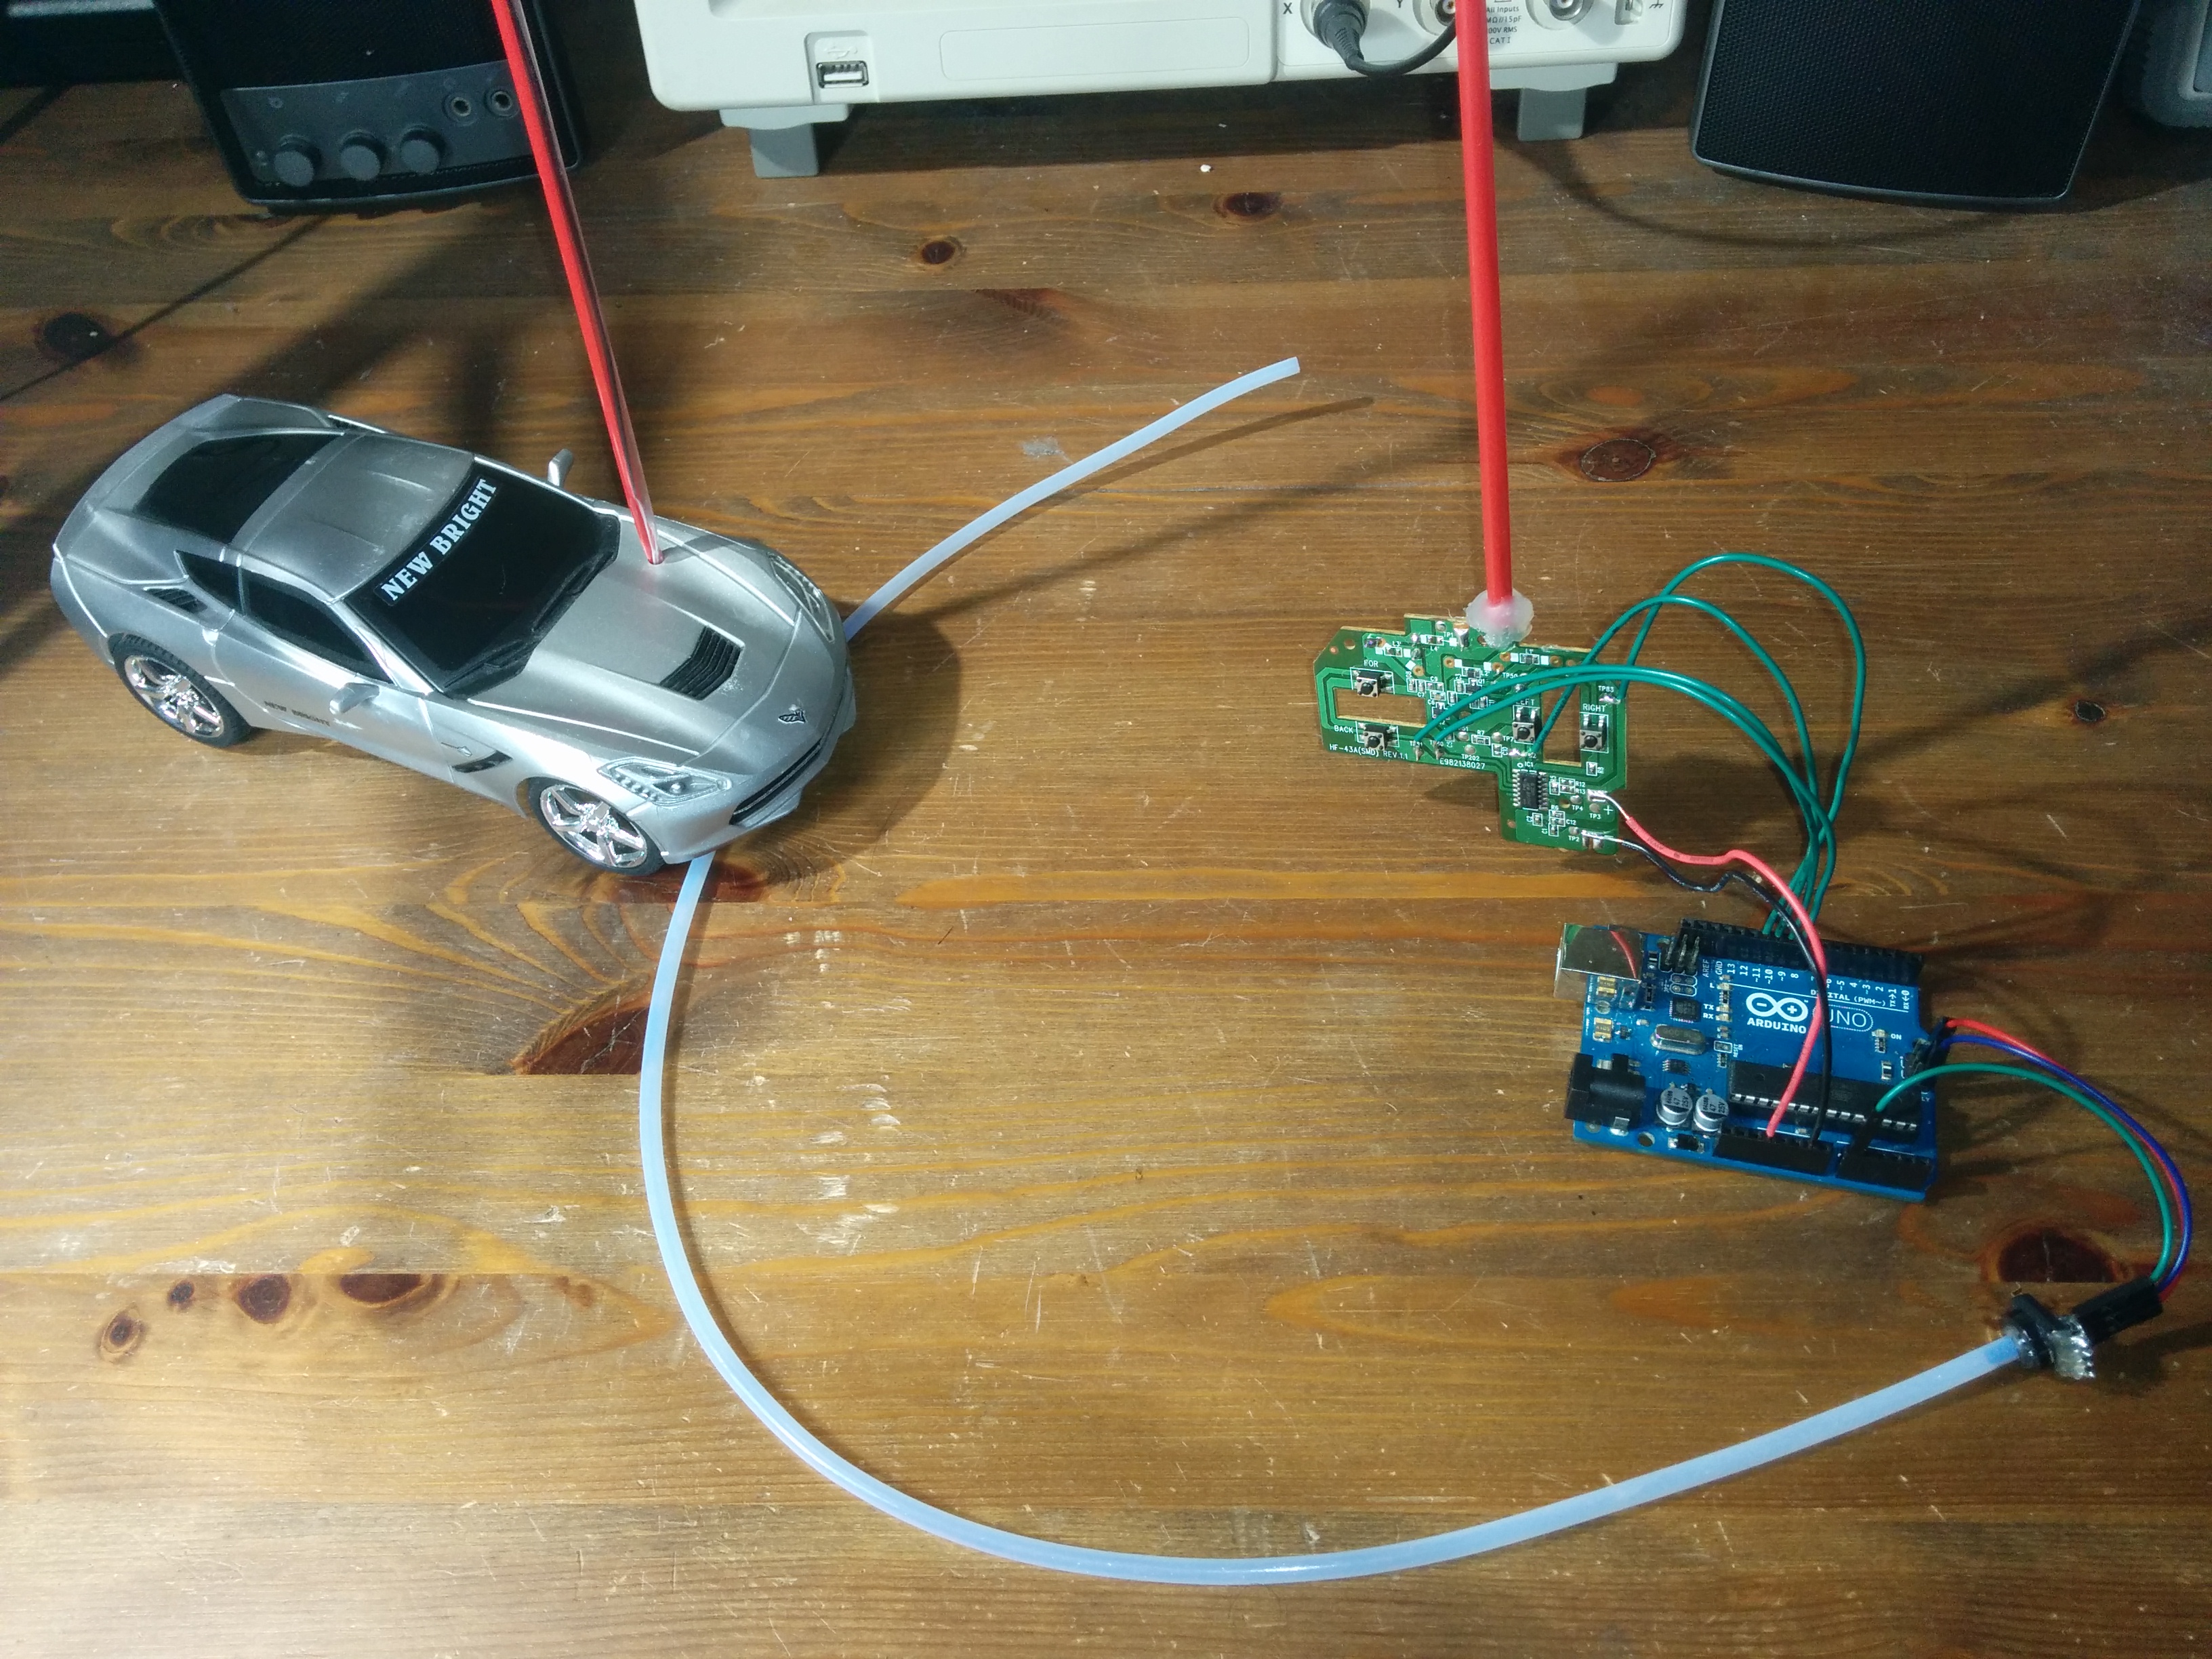
In this second more advanced setup the car will turn right with a puff and left with a sip. A double puff will start or stop the car going forward. A double sip will start the car going reverse.
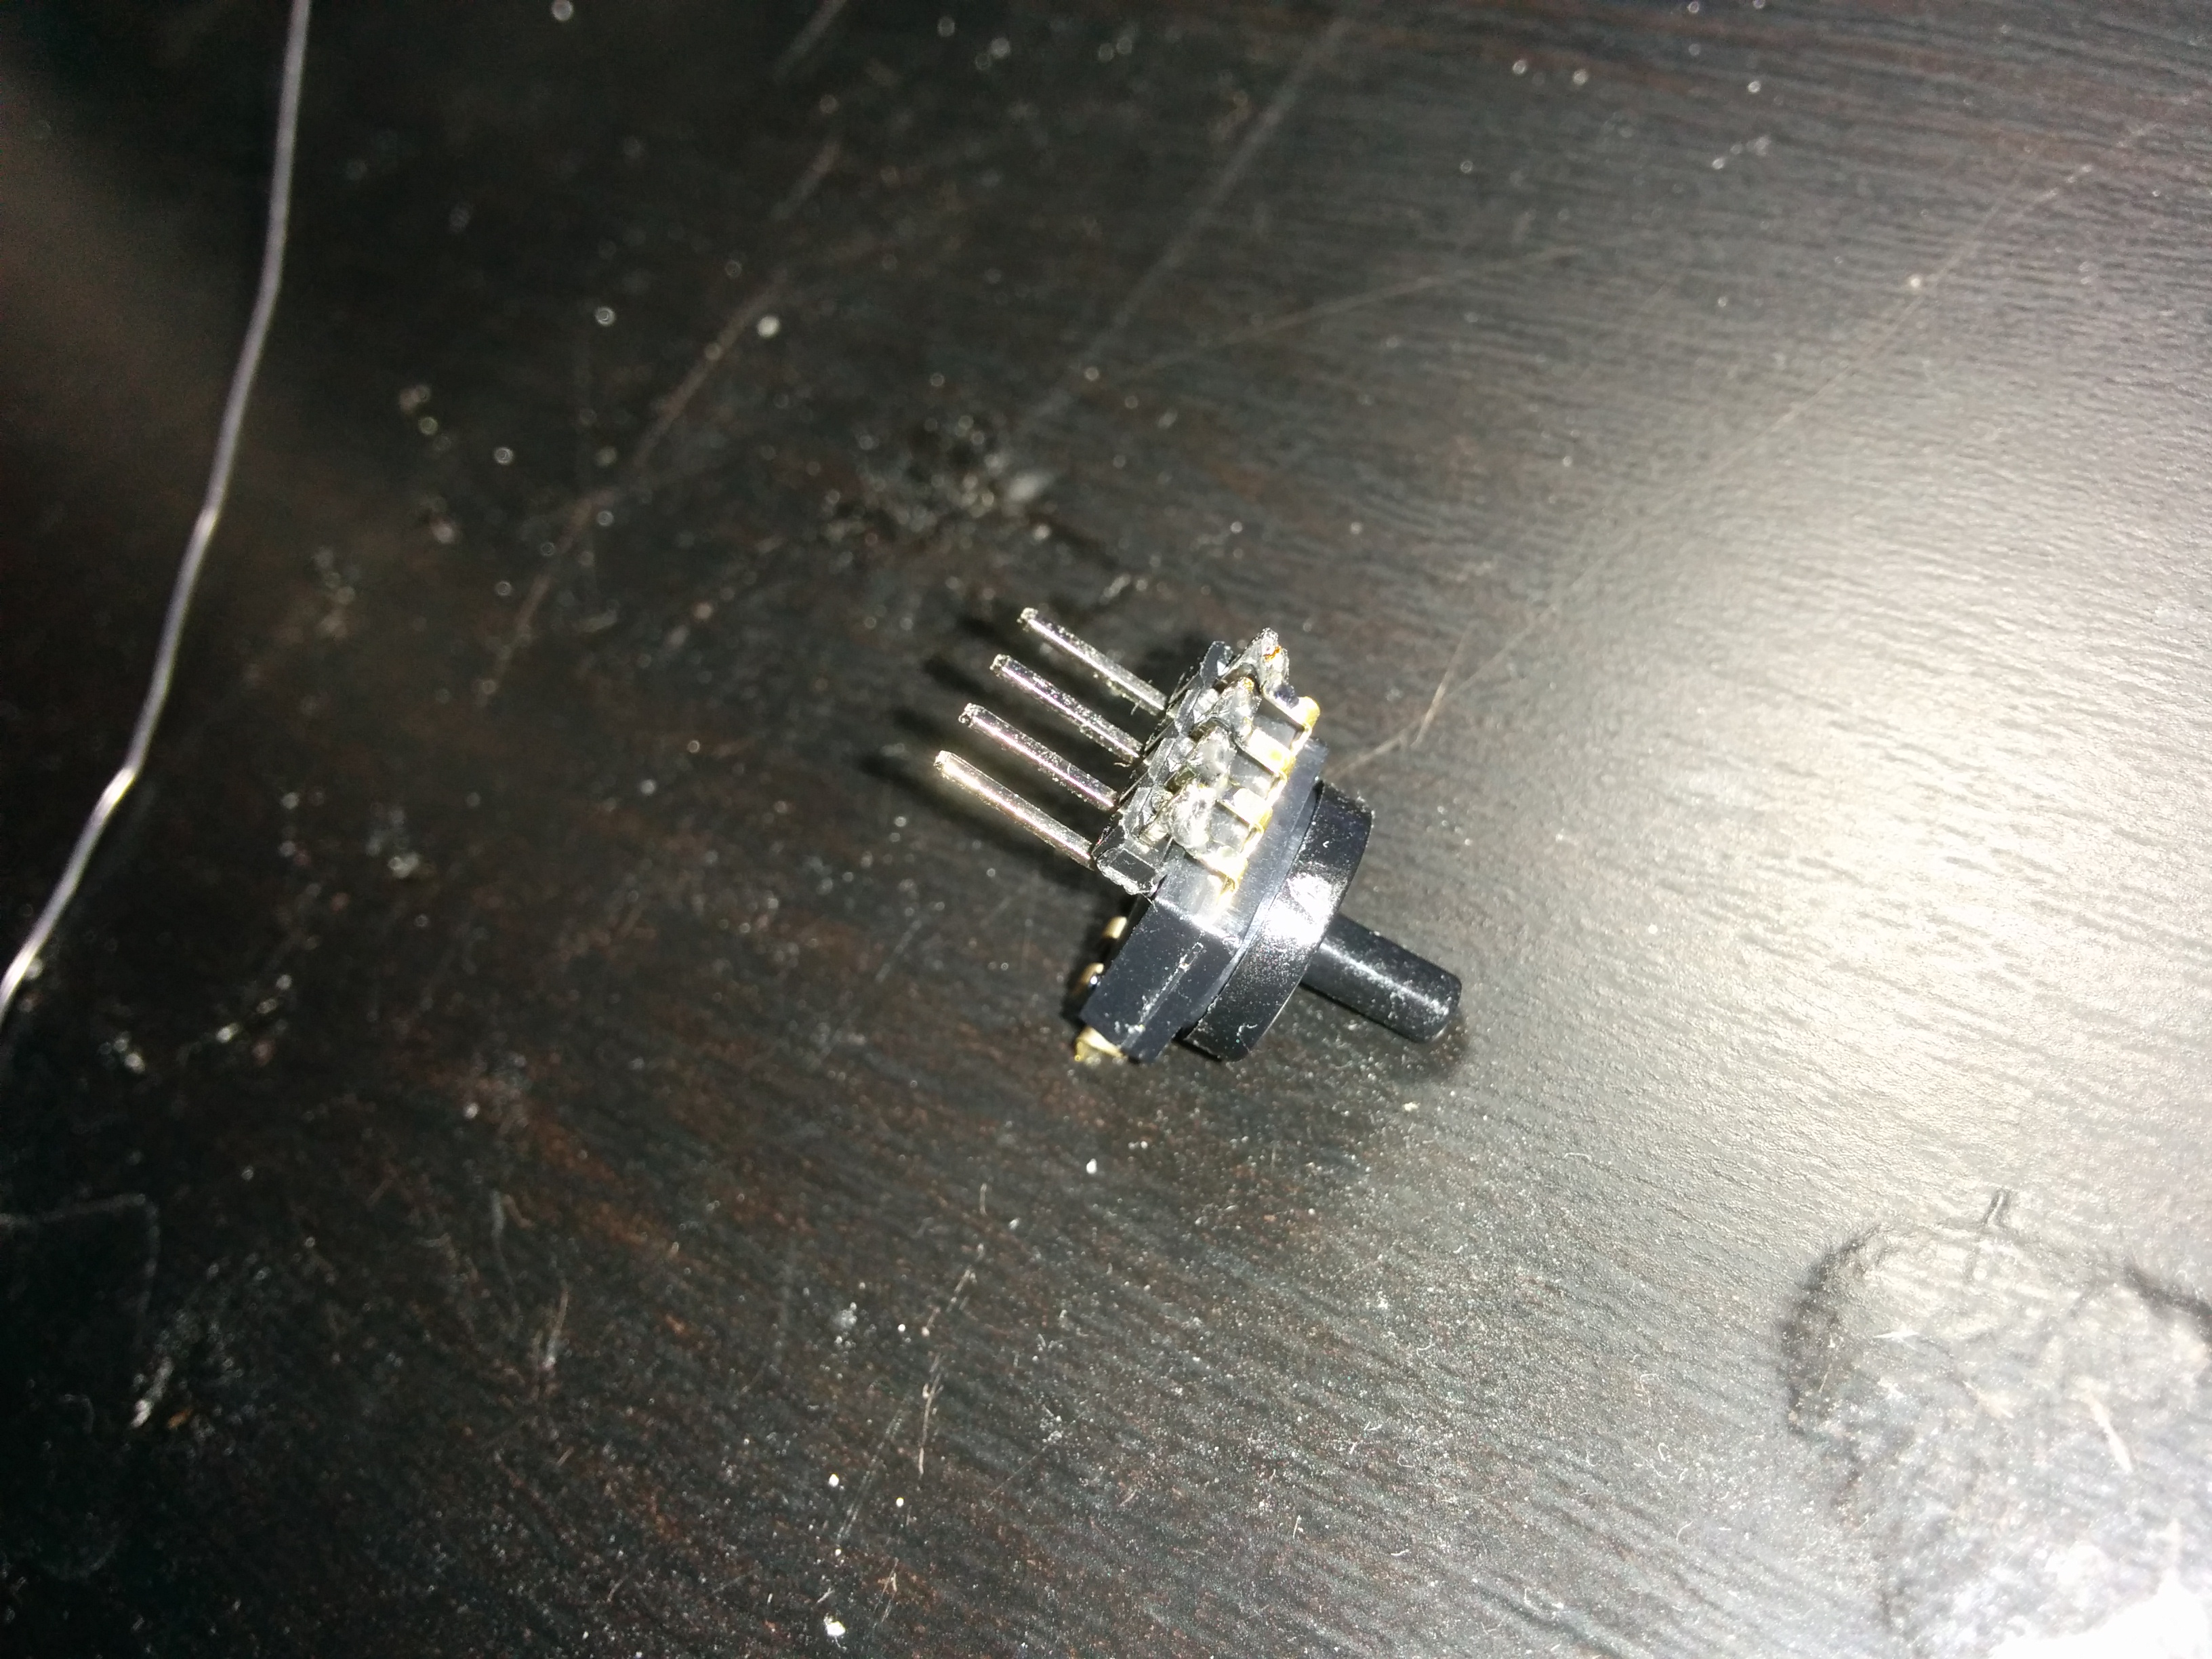
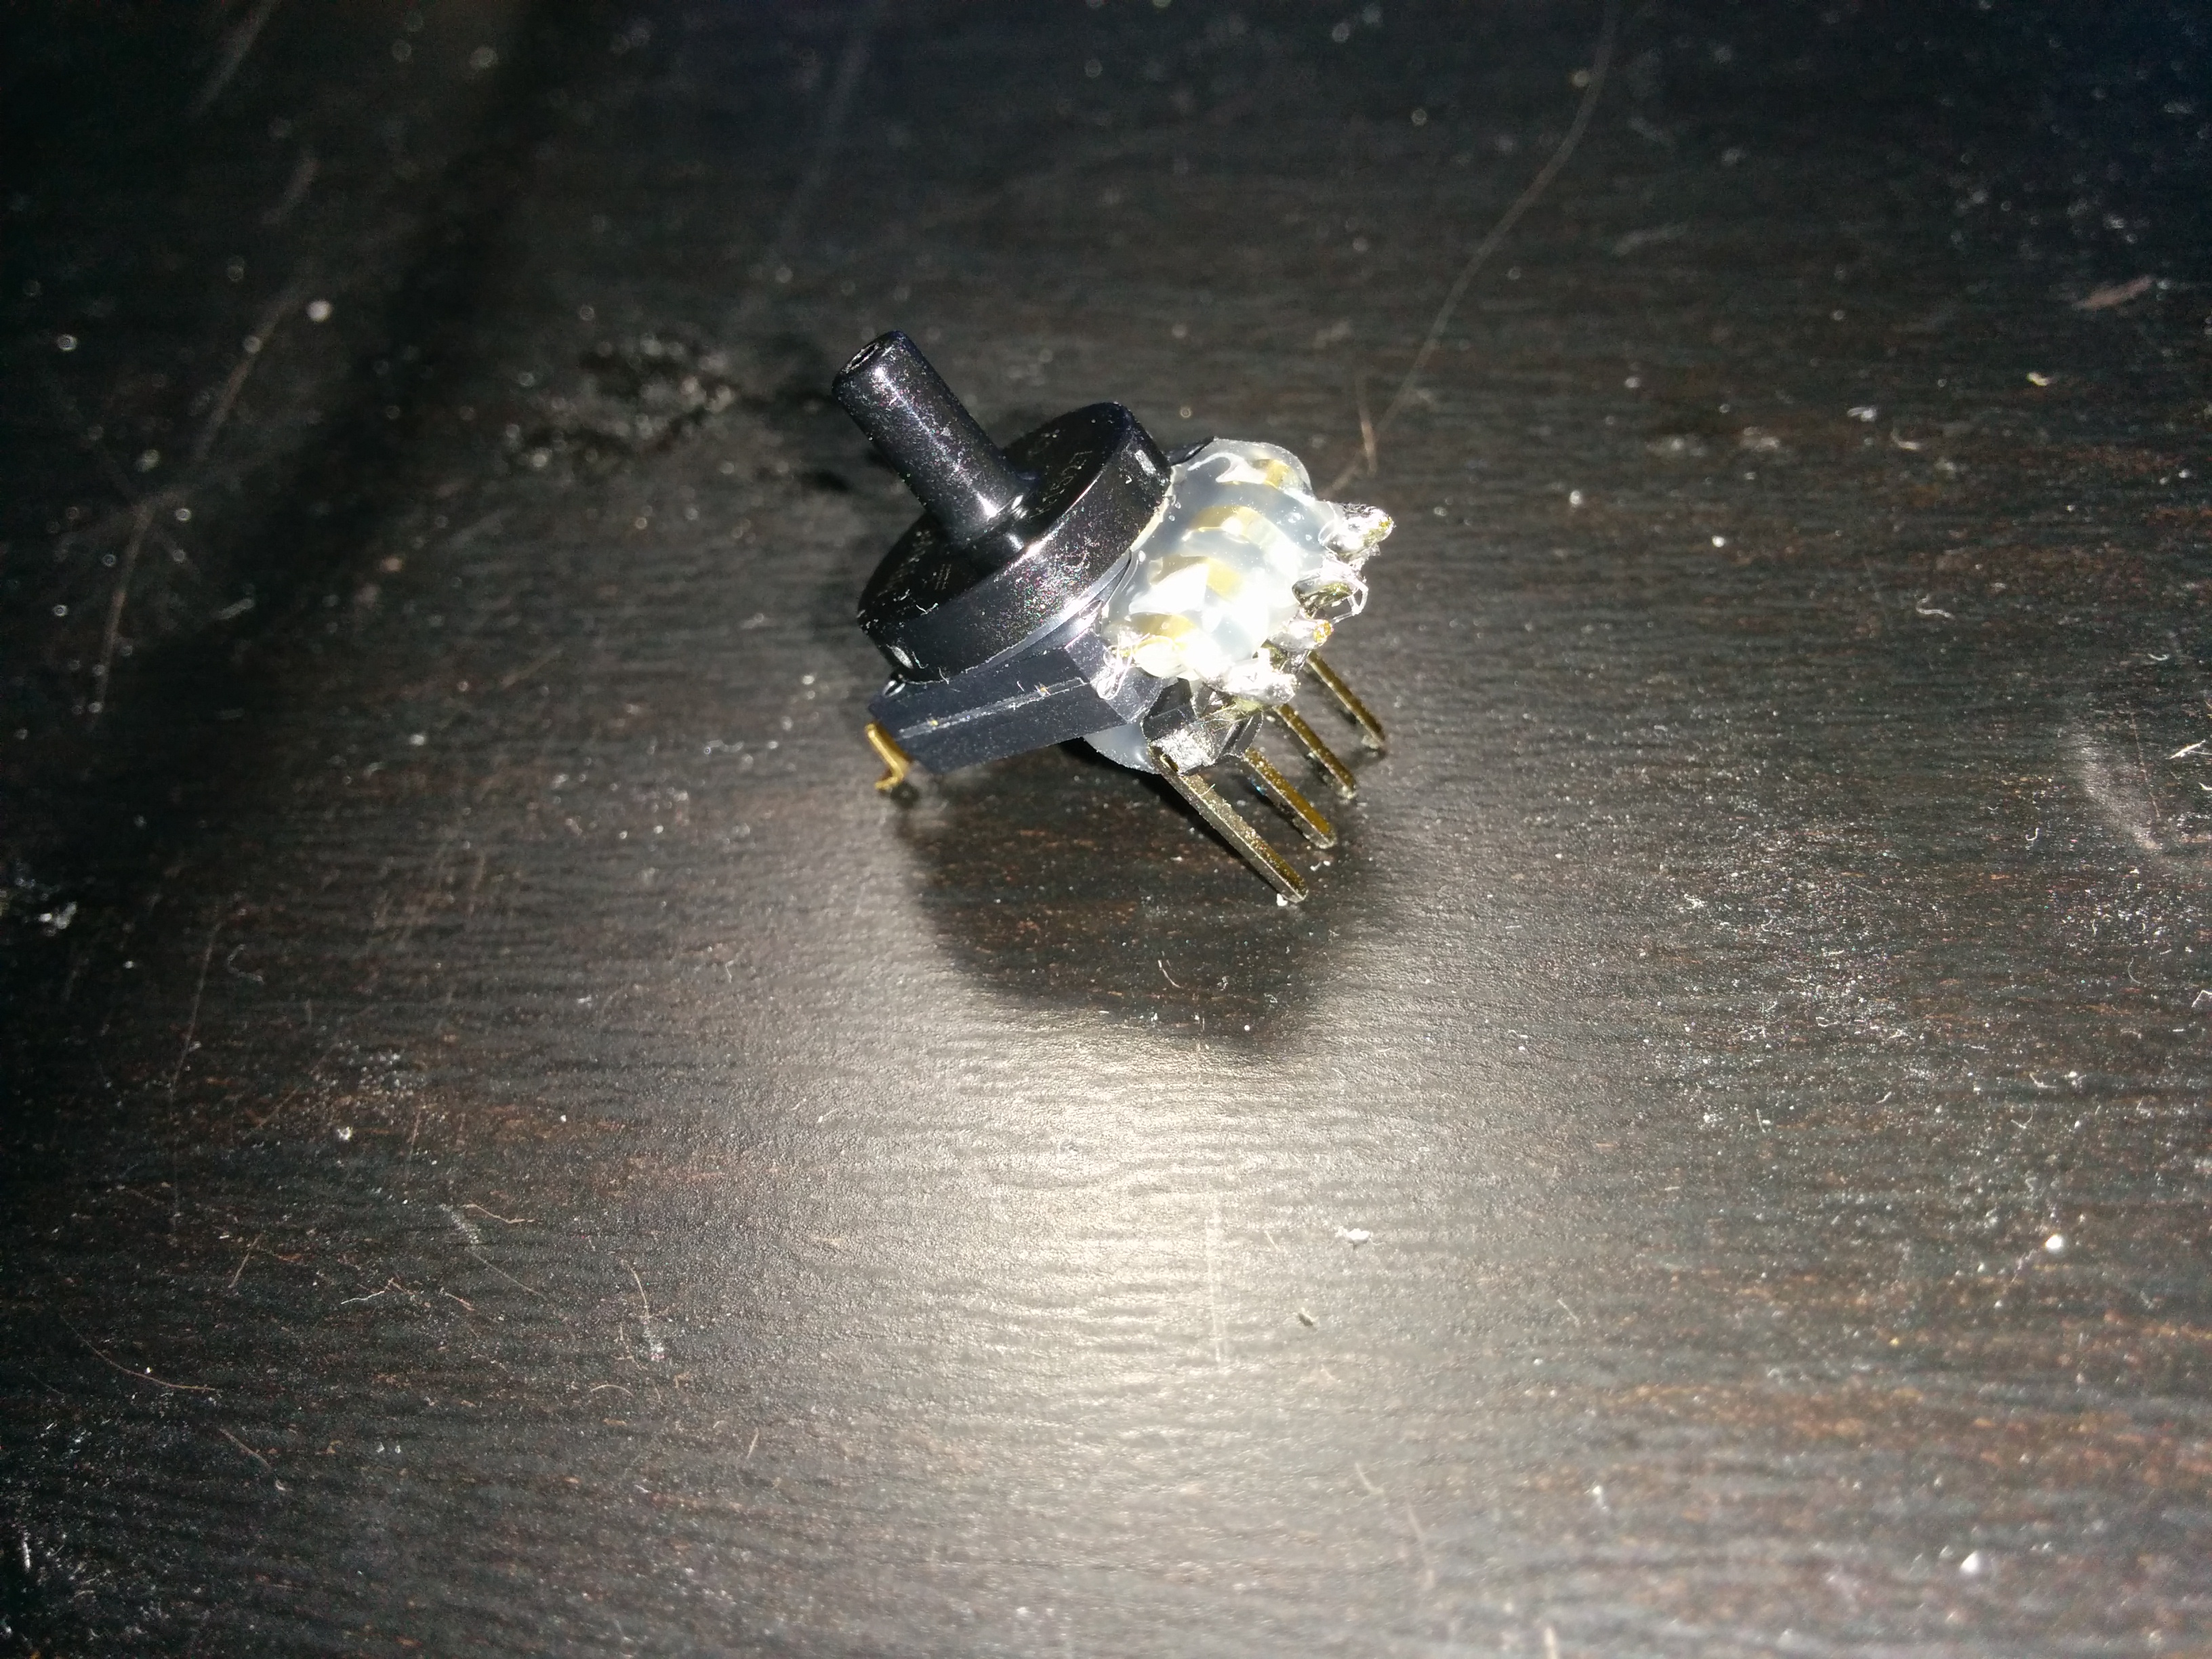
Detecting the sips and puffs is done with a pressure sensor. For this project I chose the MPXV7007G: http://cache.freescale.com/files/sensors/doc/data_sheet/MPXV7007.pdf
This sensor takes -1 to 1 psi as input and maps it to 0.5 to 4.5V as output if you power it at 5V. This nicely sets the full scale as a strong sip to a strong puff and still allows specifically detecting soft sips and puffs. To make it easier to prototype with I soldered on a 4 pin male header and then added hot glue for mechanical support as pictured below.
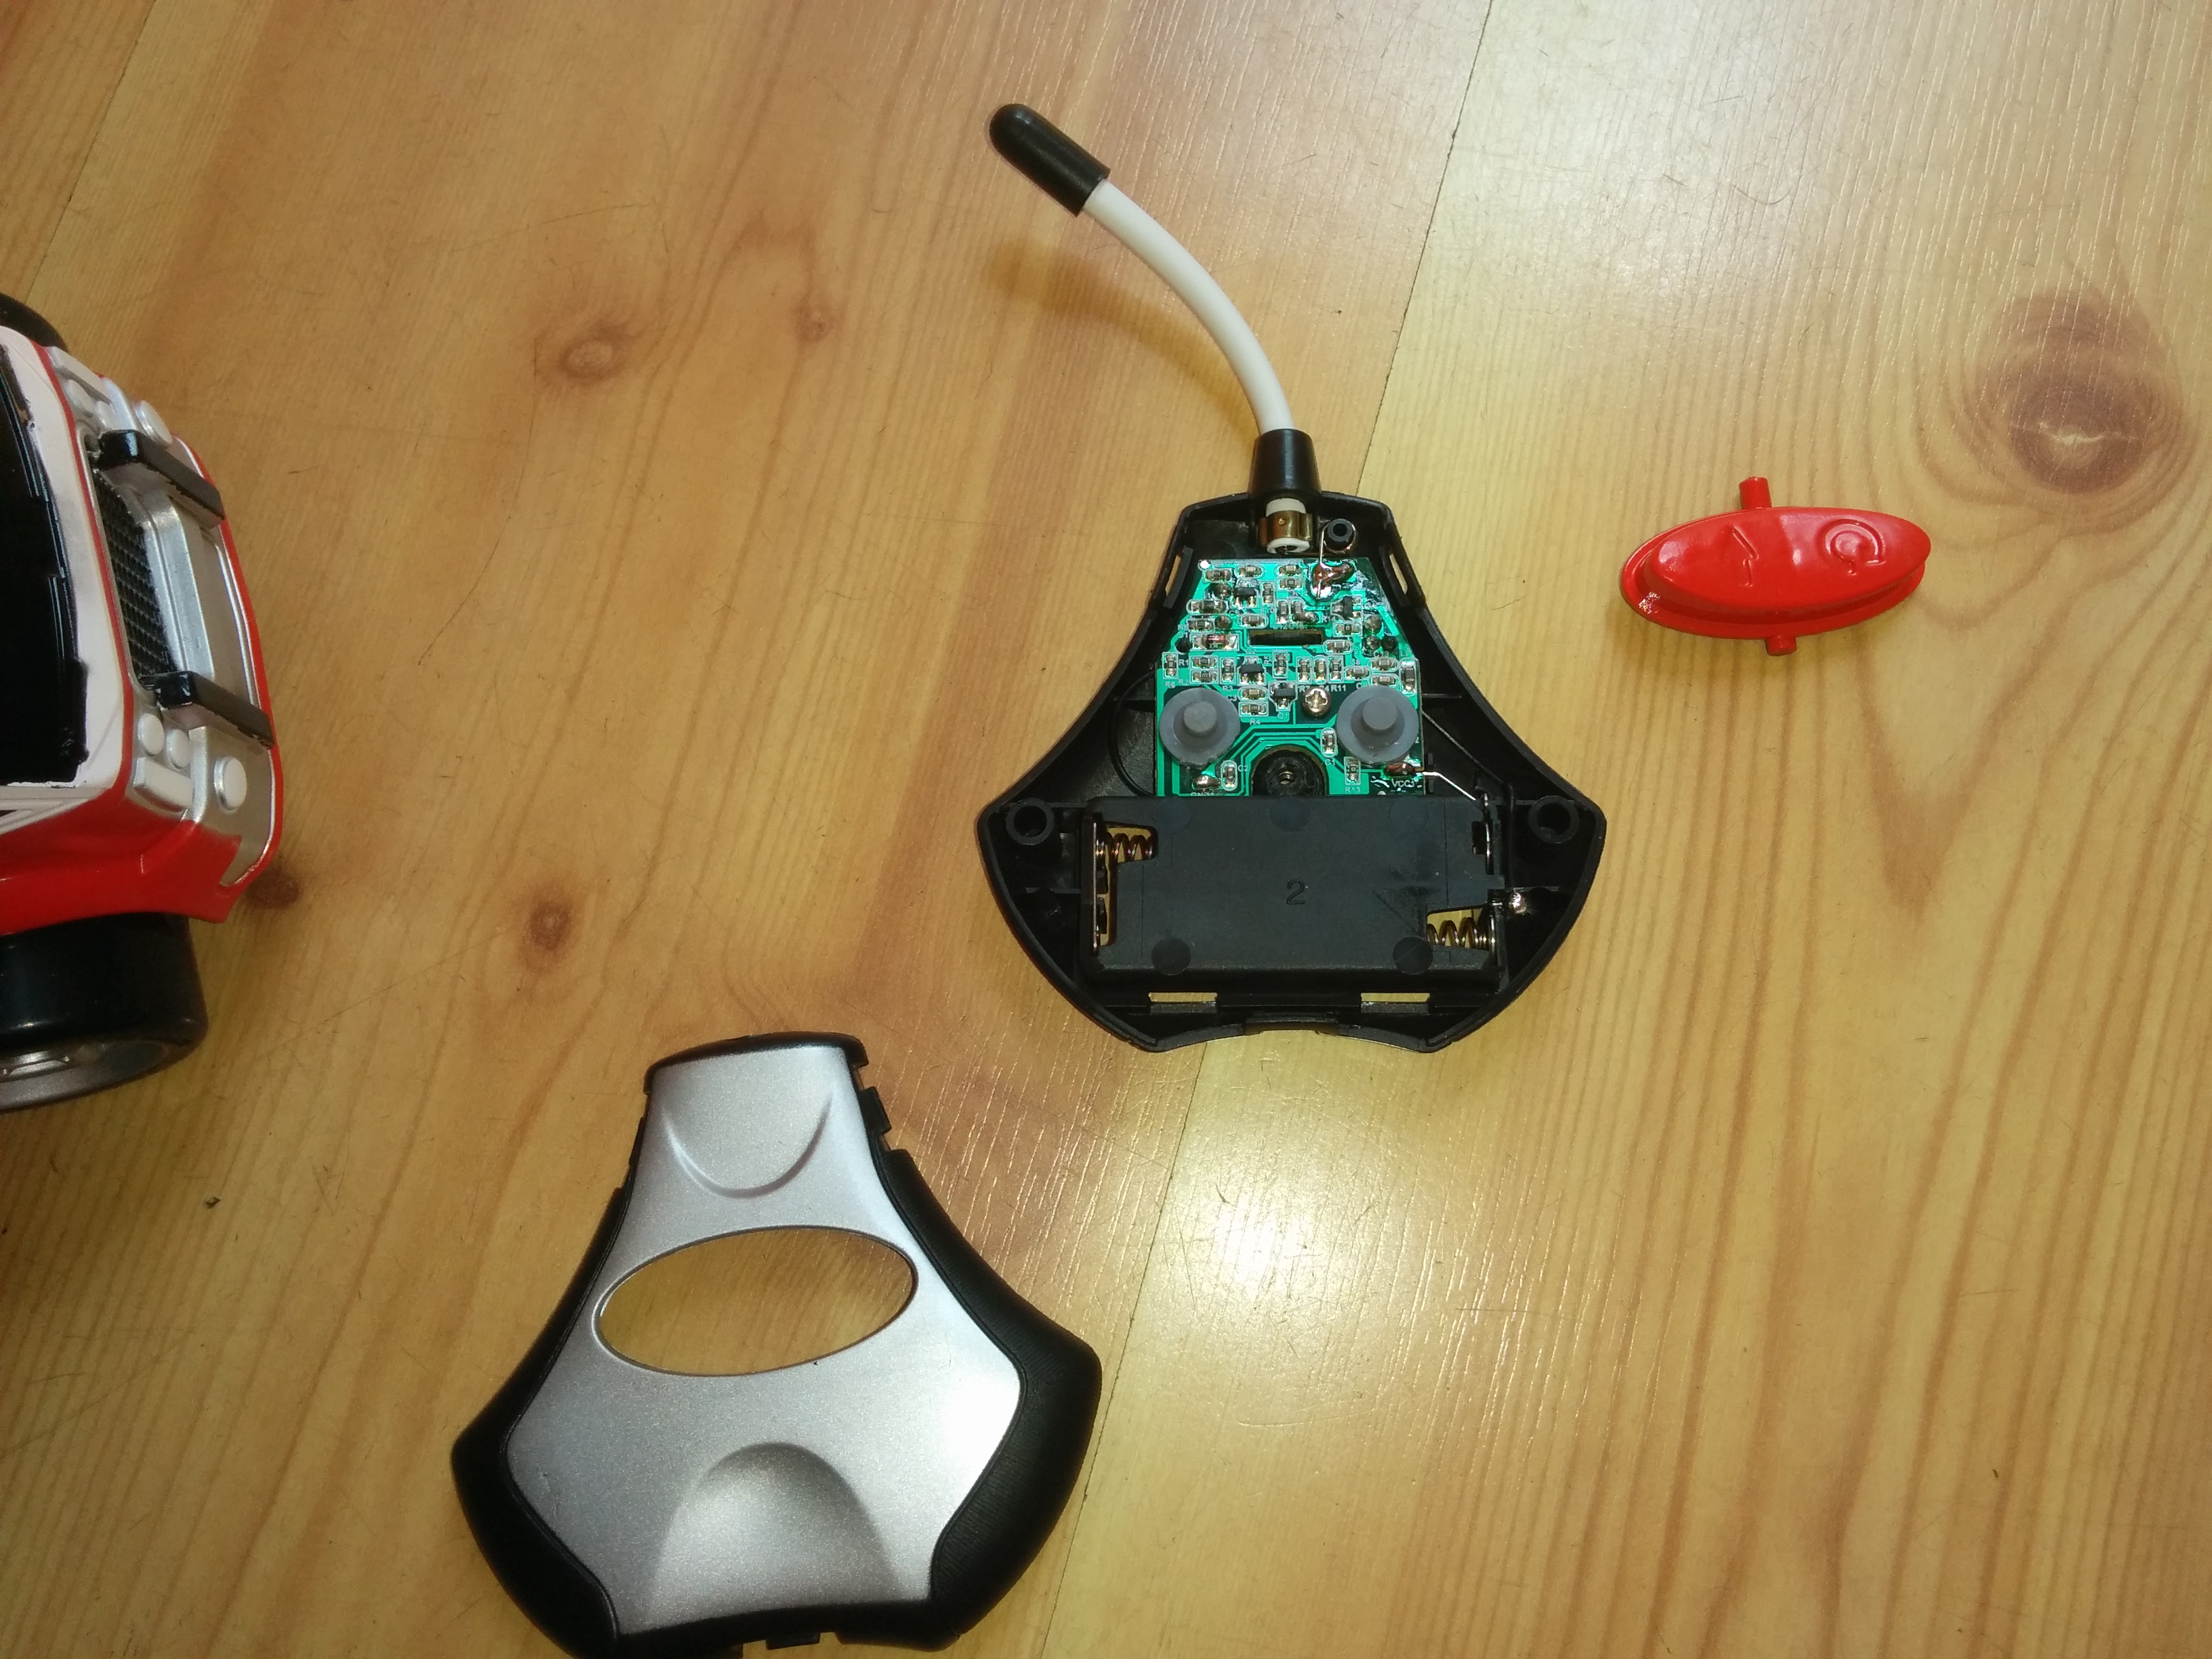
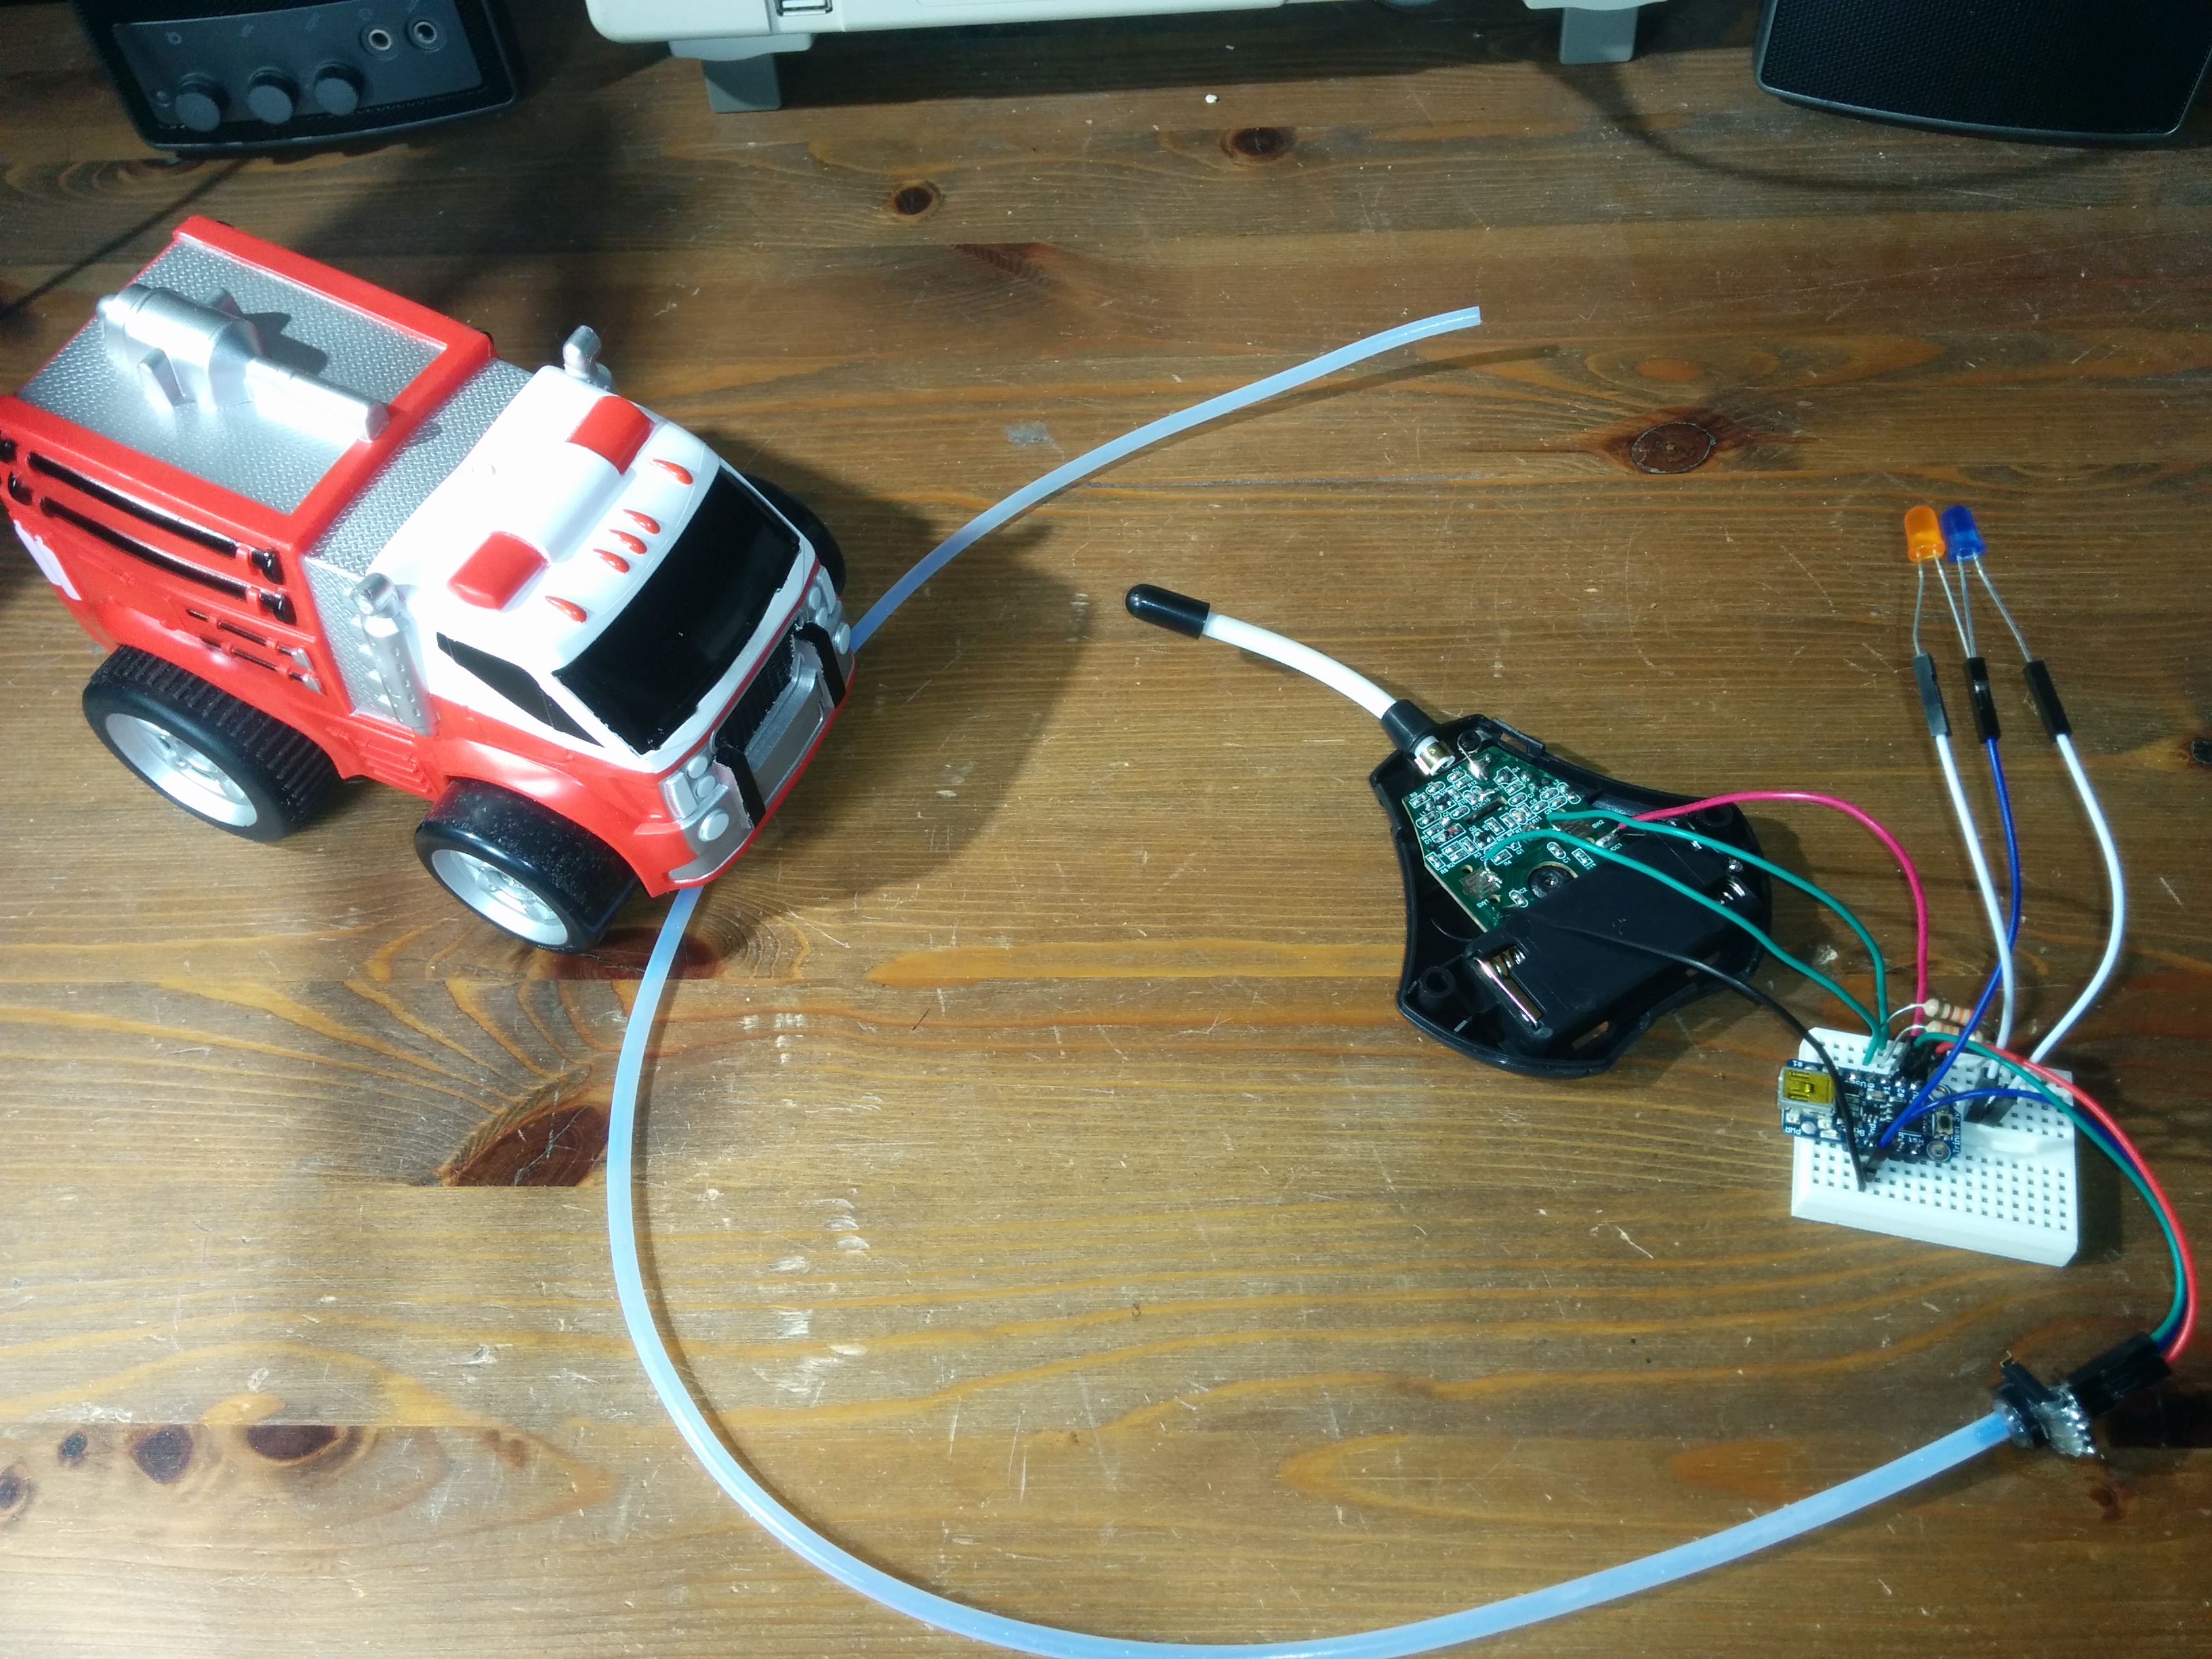
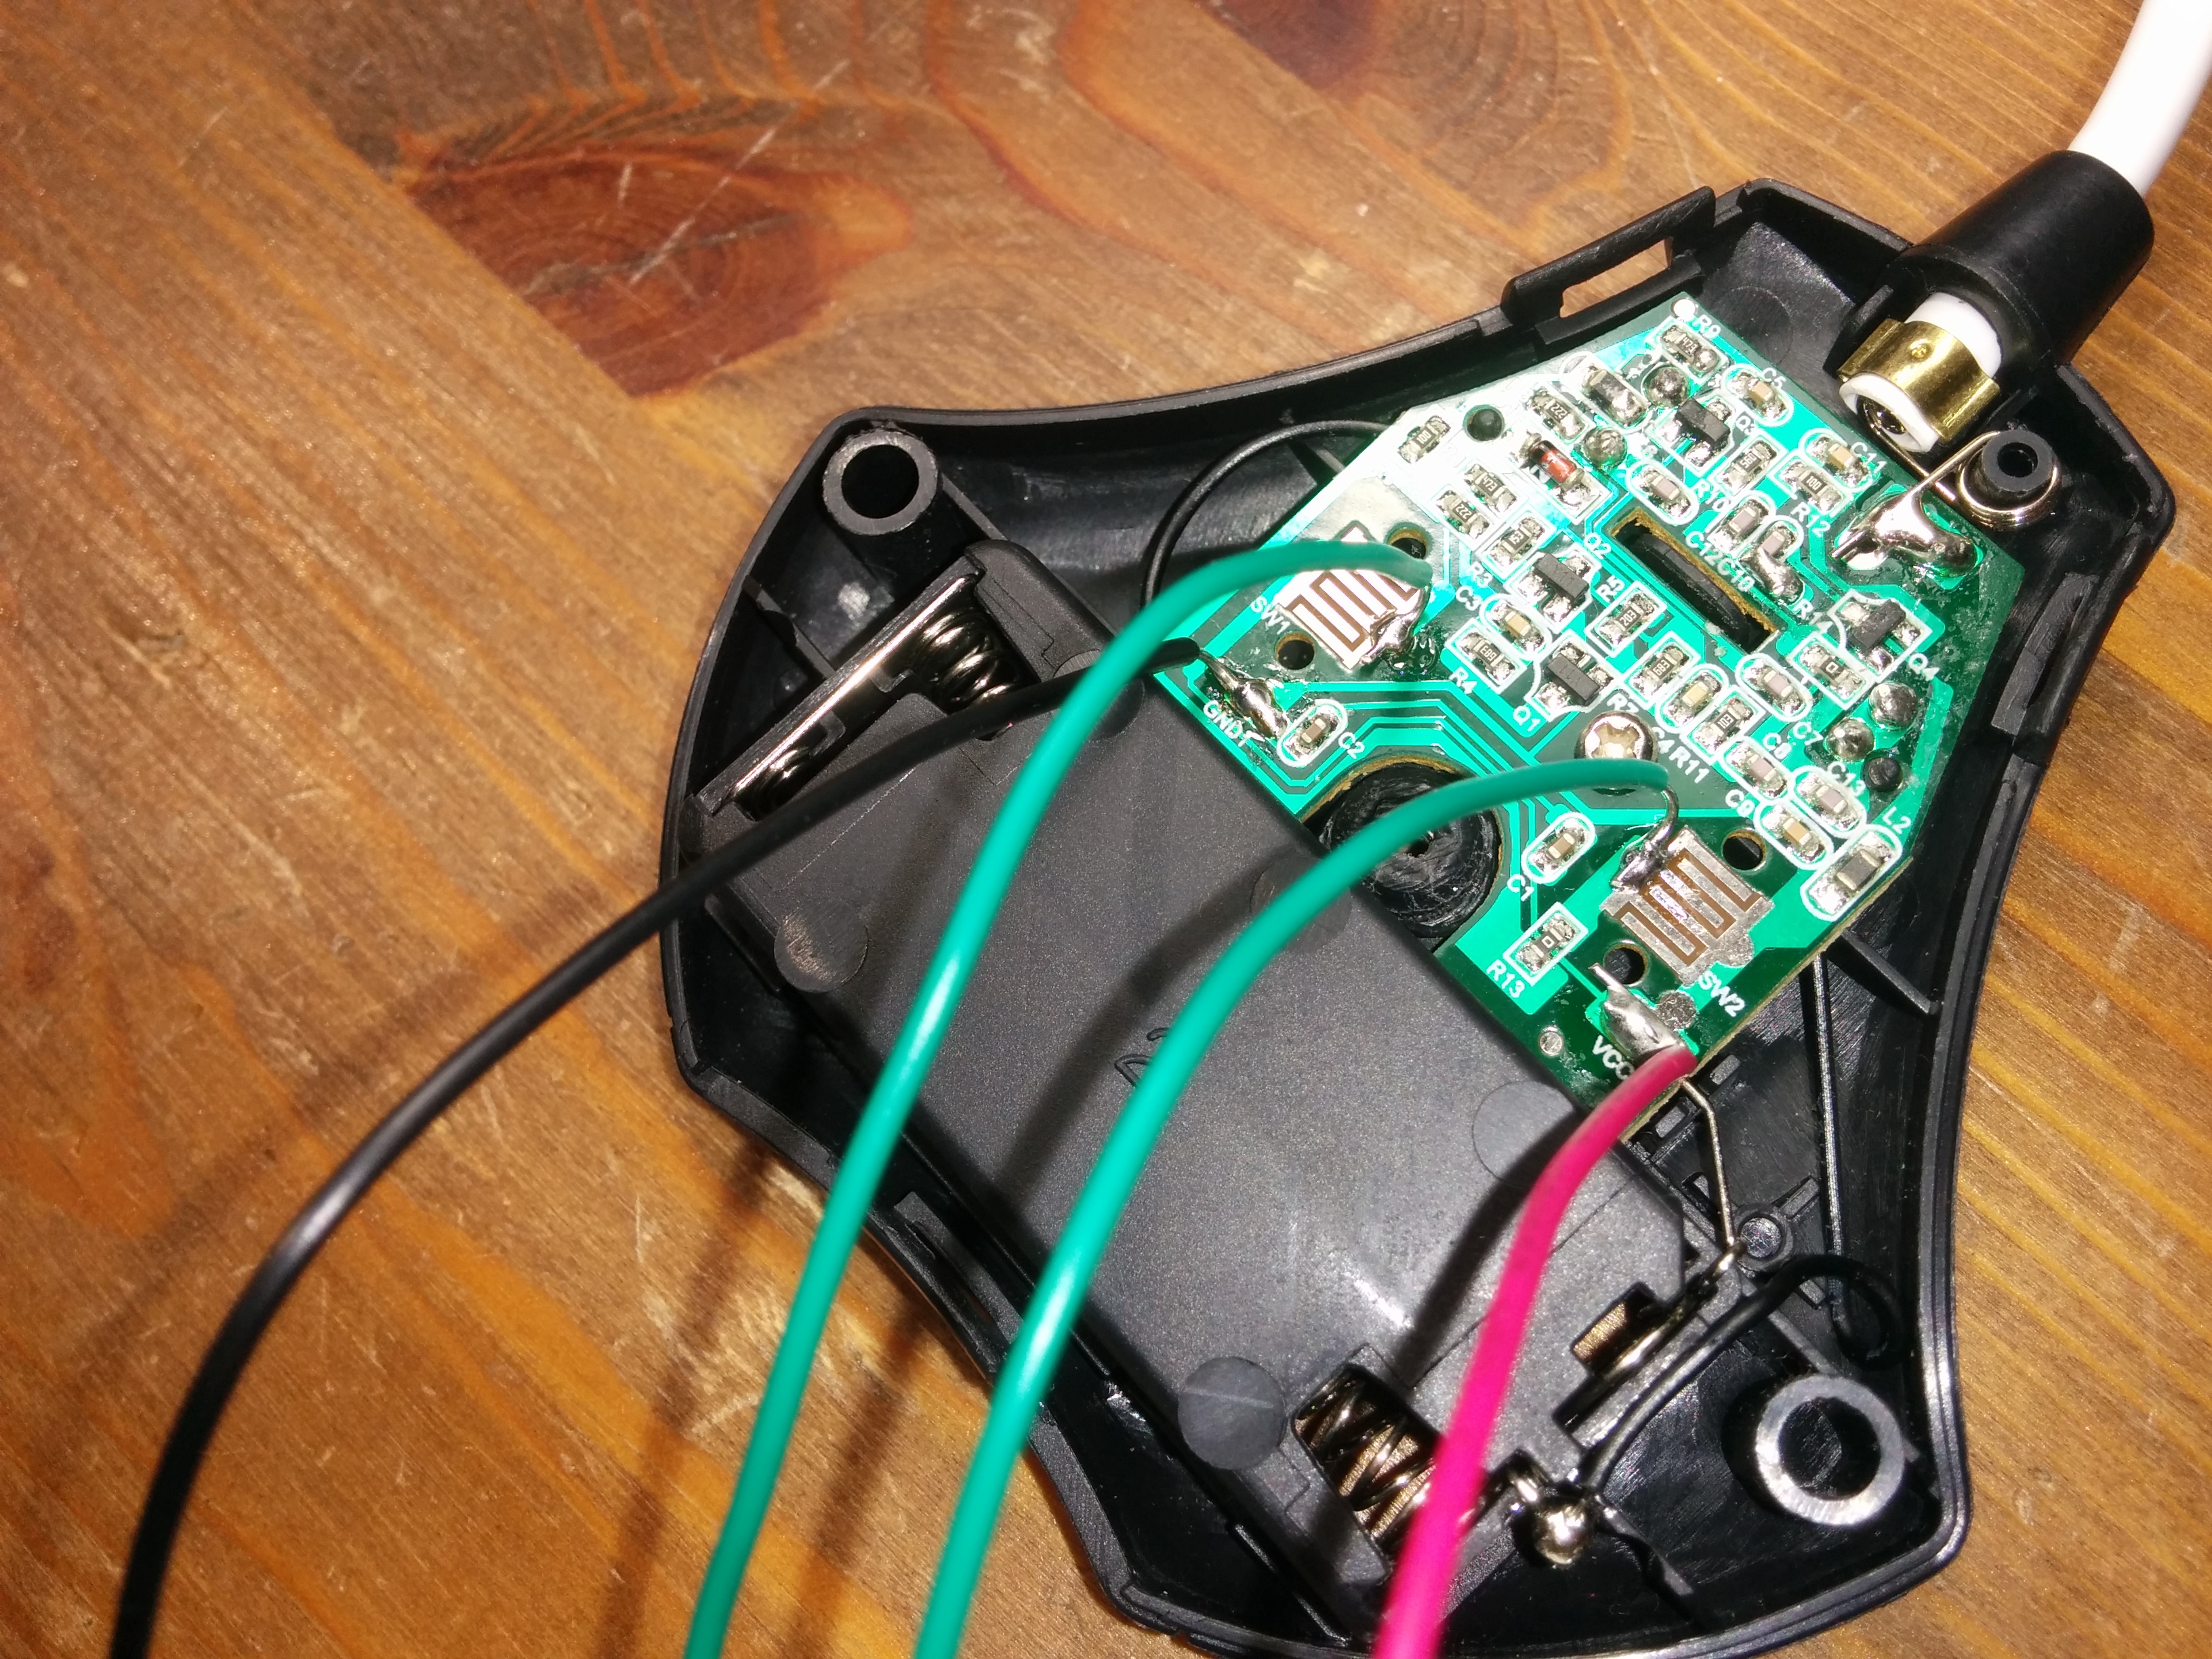
Here are some pictures of the first setup, including the connections soldered to the remote to let the microcontroller control it. Since this remote runs off around 3.3V (2x AAA) and needed its button connections pulled up to 3.3V to activate it was easier to use with a 3.3V microcontroller board. For this I chose a 3.3V Adafruit Trinket (ATtiny85) but any 3.3V board could have been used. Alternately with some work a 5V board could have been used or possibly even the controller itself could have been powered at 5V depending on its design. In any case this controller requires the button connection explicitly left floating when disabled so I configured the 2 control pins on the Trinket as open-source. In total 4 points are soldered to on this controller, GND, Vcc, Forward, Reverse-Turn. Vcc was only necessary since I wanted both the controller and my add-on circuit powered off the same batteries.

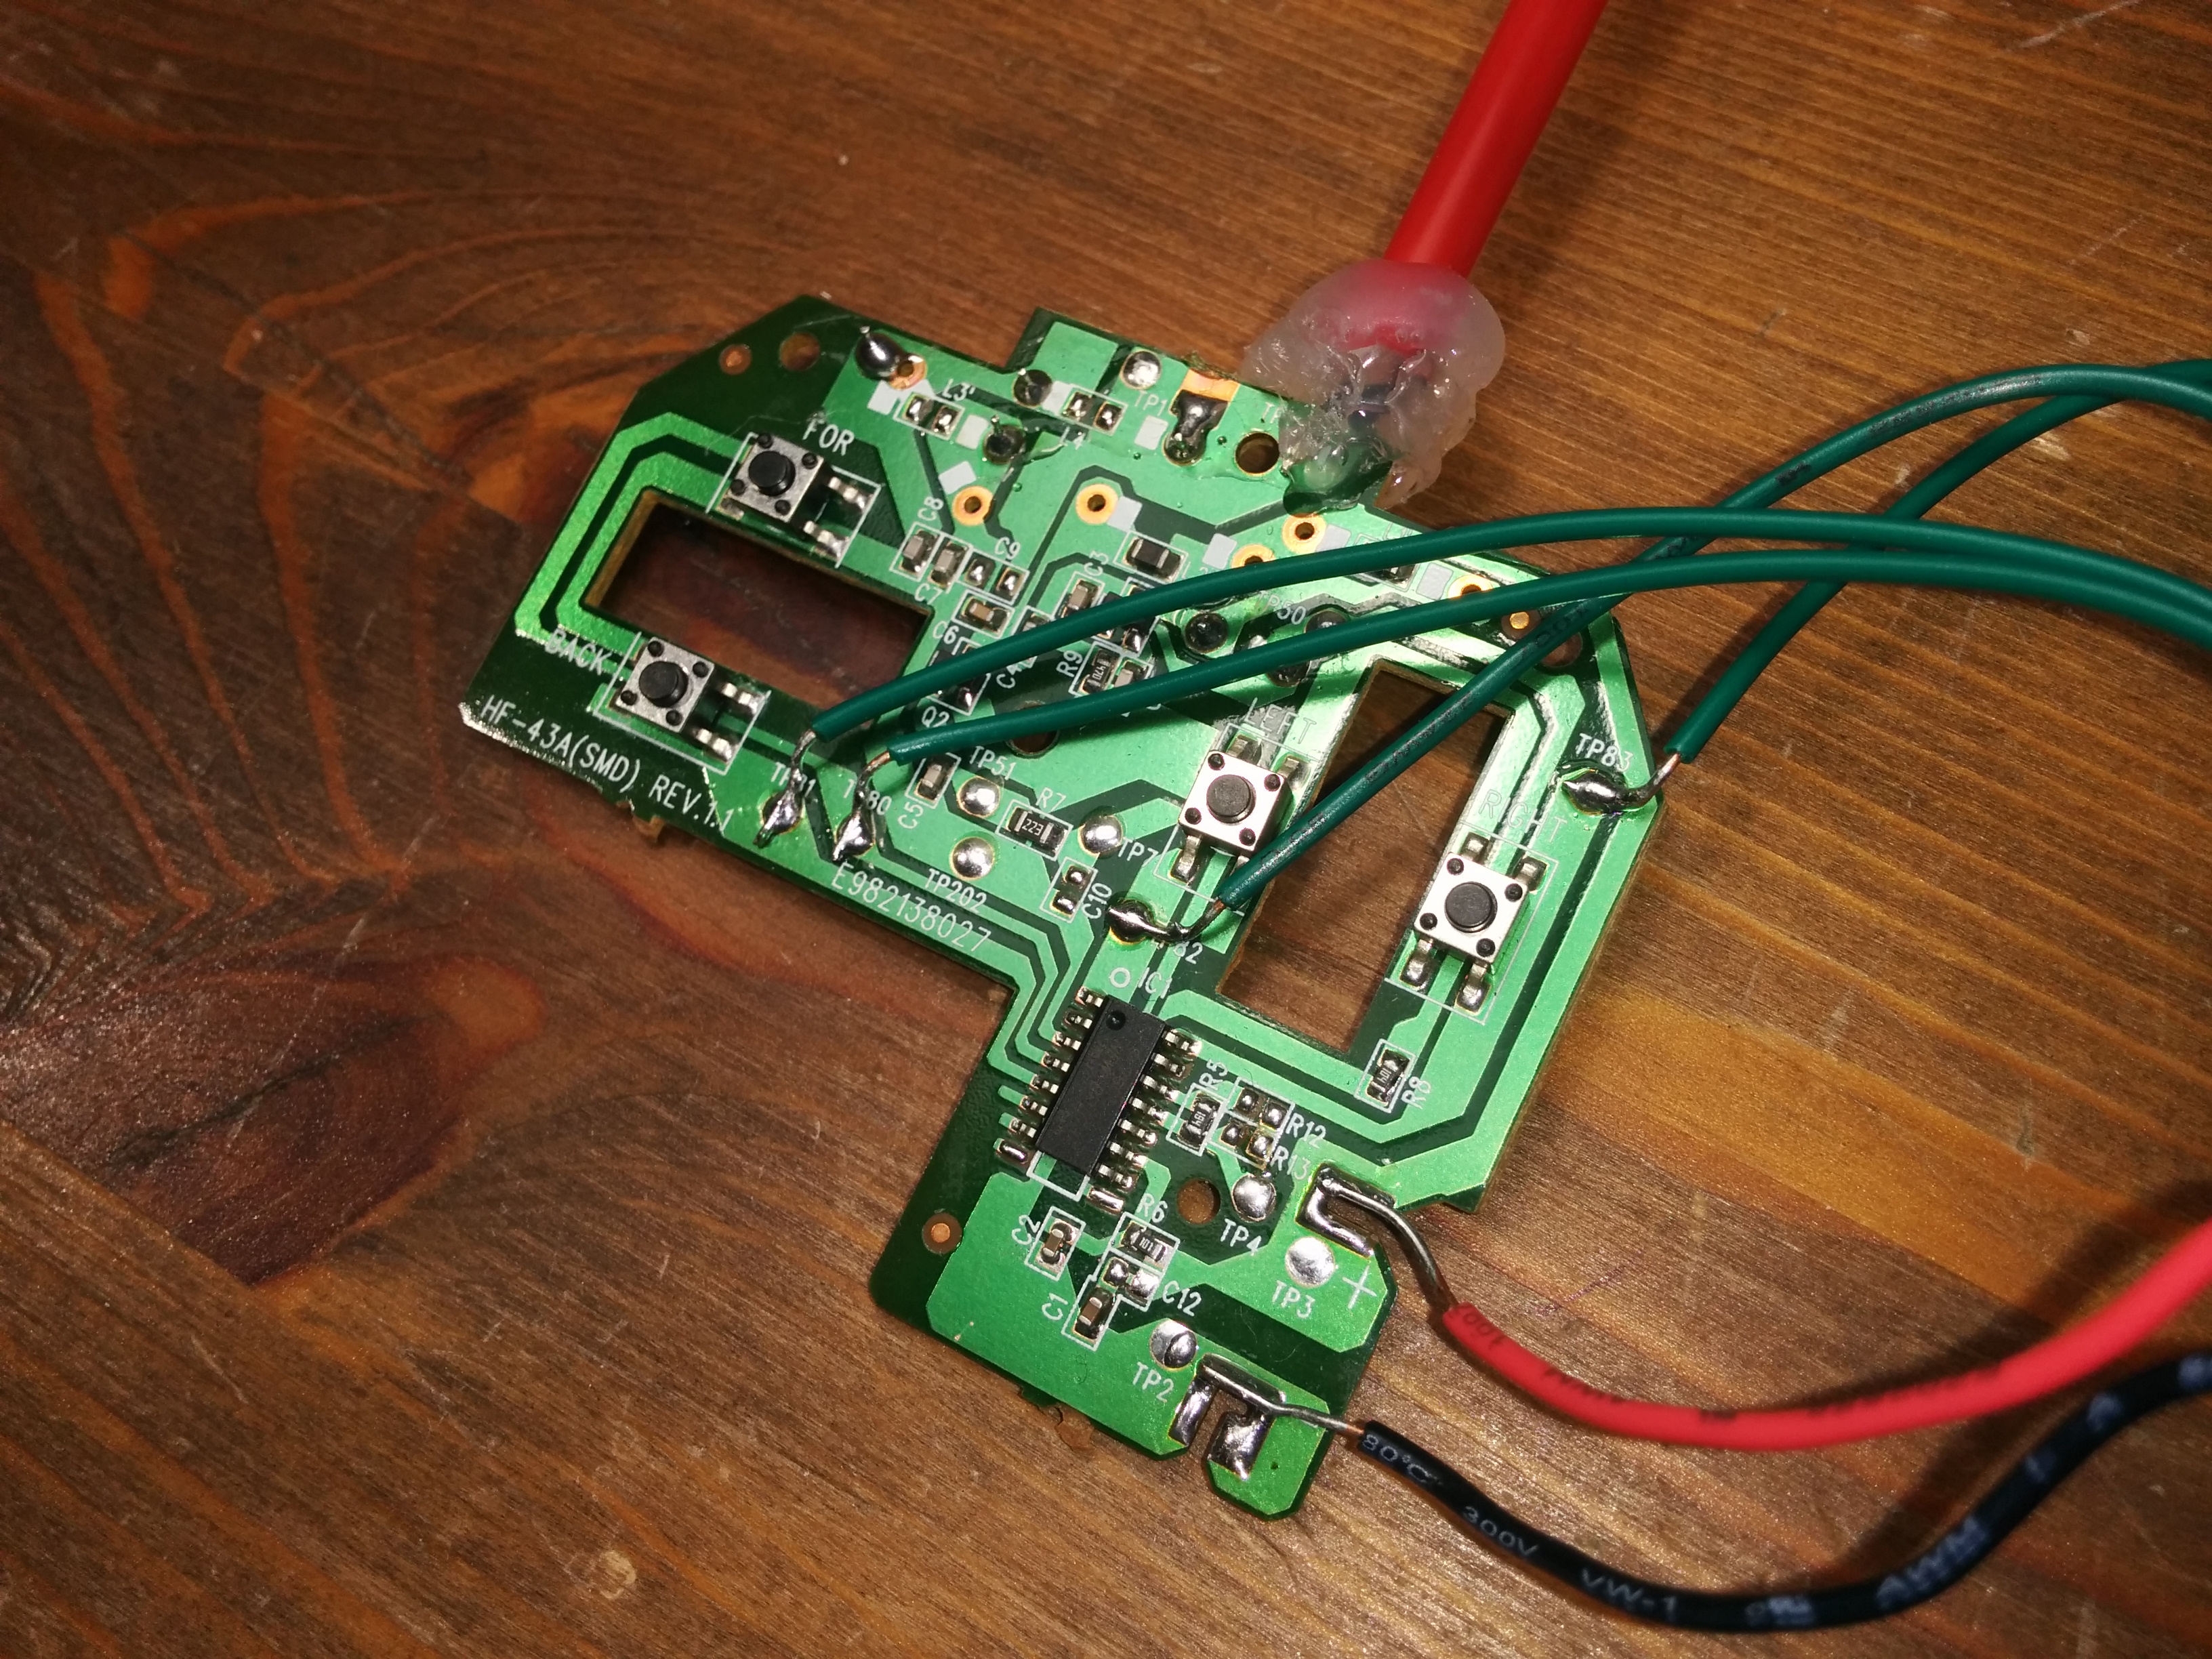
Here are some pictures of the second setup, including the connections soldered to the remote to let the microcontroller control it. Here the controller also runs off 3.3V (2x AA) but instead needs it’s button connections pulled down to ground to activate. So in this case I could use a microcontroller running at 5V, but I configured the 4 pins I used for control on the Arduino as open-drain. In total 6 points are soldered to on this controller, GND, Vcc, Forward, Reverse, Left, Right. Vcc was only necessary since I wanted both the controller and my add-on circuit powered off the same batteries.
In any of these customizations it’s important to get a sense from the user what they find most comfortable and what their preferences are. Any combination of sips and/or puffs of any length or pressure could be chosen for each function. Also, any function can be setup just like a button as momentary (only active during the sip or the puff) or as a toggle (the sip or puff starts or stops the action, but the sip or puff does not need to be maintained during the action). Since I knew for my use I would be turning more often than starting and stopping, I set turning to be a simple sip or puff. And since I knew I wanted turns of precise but relatively short duration, I configured them as momentary (their beginning and end matching the sip or puff’s beginning and end). The starts and stops I decided for my purposes could be slightly less precise and further apart, so I tied them each to a double puff toggle (similar to a double-click on a mouse). However I just as easily could have tied them to a strong puff, and then turning would only be triggered by light sips and puffs.
You can get the code running on the Arduino of each of these 2 versions here: https://github.com/bobparadiso/SipPuffToyCar

2 thoughts on “DIY Sip-and-Puff Controlled Toys”