With some disabilities a person’s eyes are the easiest thing for them to control, and their best or only choice for communication. There are many ways both low and high tech to facilitate communication using only one’s eyes.
On the high tech end of the spectrum are eye-gaze devices like the Tobii i15:
http://www.tobiidynavox.com/iseriesplus/
These can cost around $20K with the eye-tracking option. Eye-gaze devices have a camera that can track your eye-position, and once calibrated can tell where on a screen you are looking at. In this way you can select letters or words on the screen to form sentences which the AAC device can then speak out loud for the person.
On the low tech end of the spectrum are eye-transfer (E-Tran) frames:
http://store.lowtechsolutions.org/e-tran-board/
The communication partner holds up the frame in front of the user so that they can make direct eye contact through the center of the frame. In this arrangement the communication partner can easily determine what the user is selecting by noting which direction their eyes are pointing. These boards come in a variety of configurations and cost from around $50 to $150. They are also simple enough to be homemade. The onus is on the communication partner to keep track of the letters and words as they build up to form sentences. If the communication partner looses track, they could misunderstand the user or need them to start over which could be frustrating or time consuming to both people.
The MegaBee by E2L Limited is an electronic E-Tran board:
http://www.e2l.uk.com/megabee/index.html
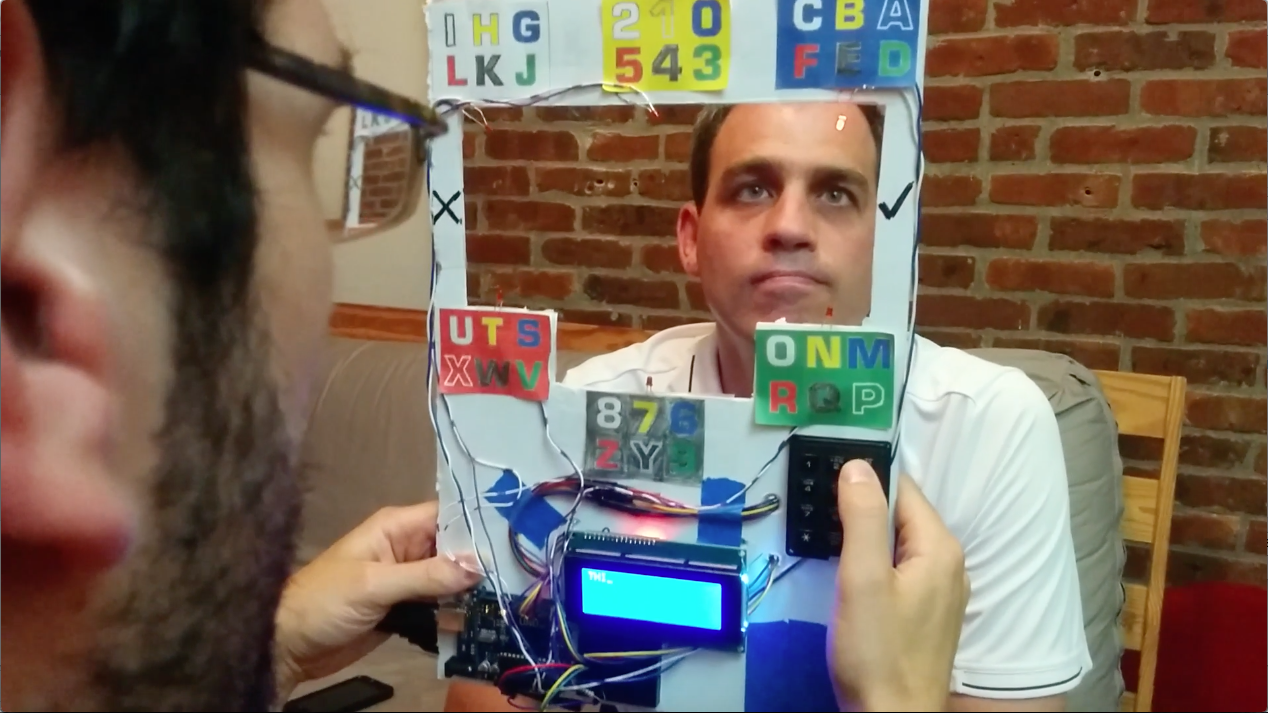
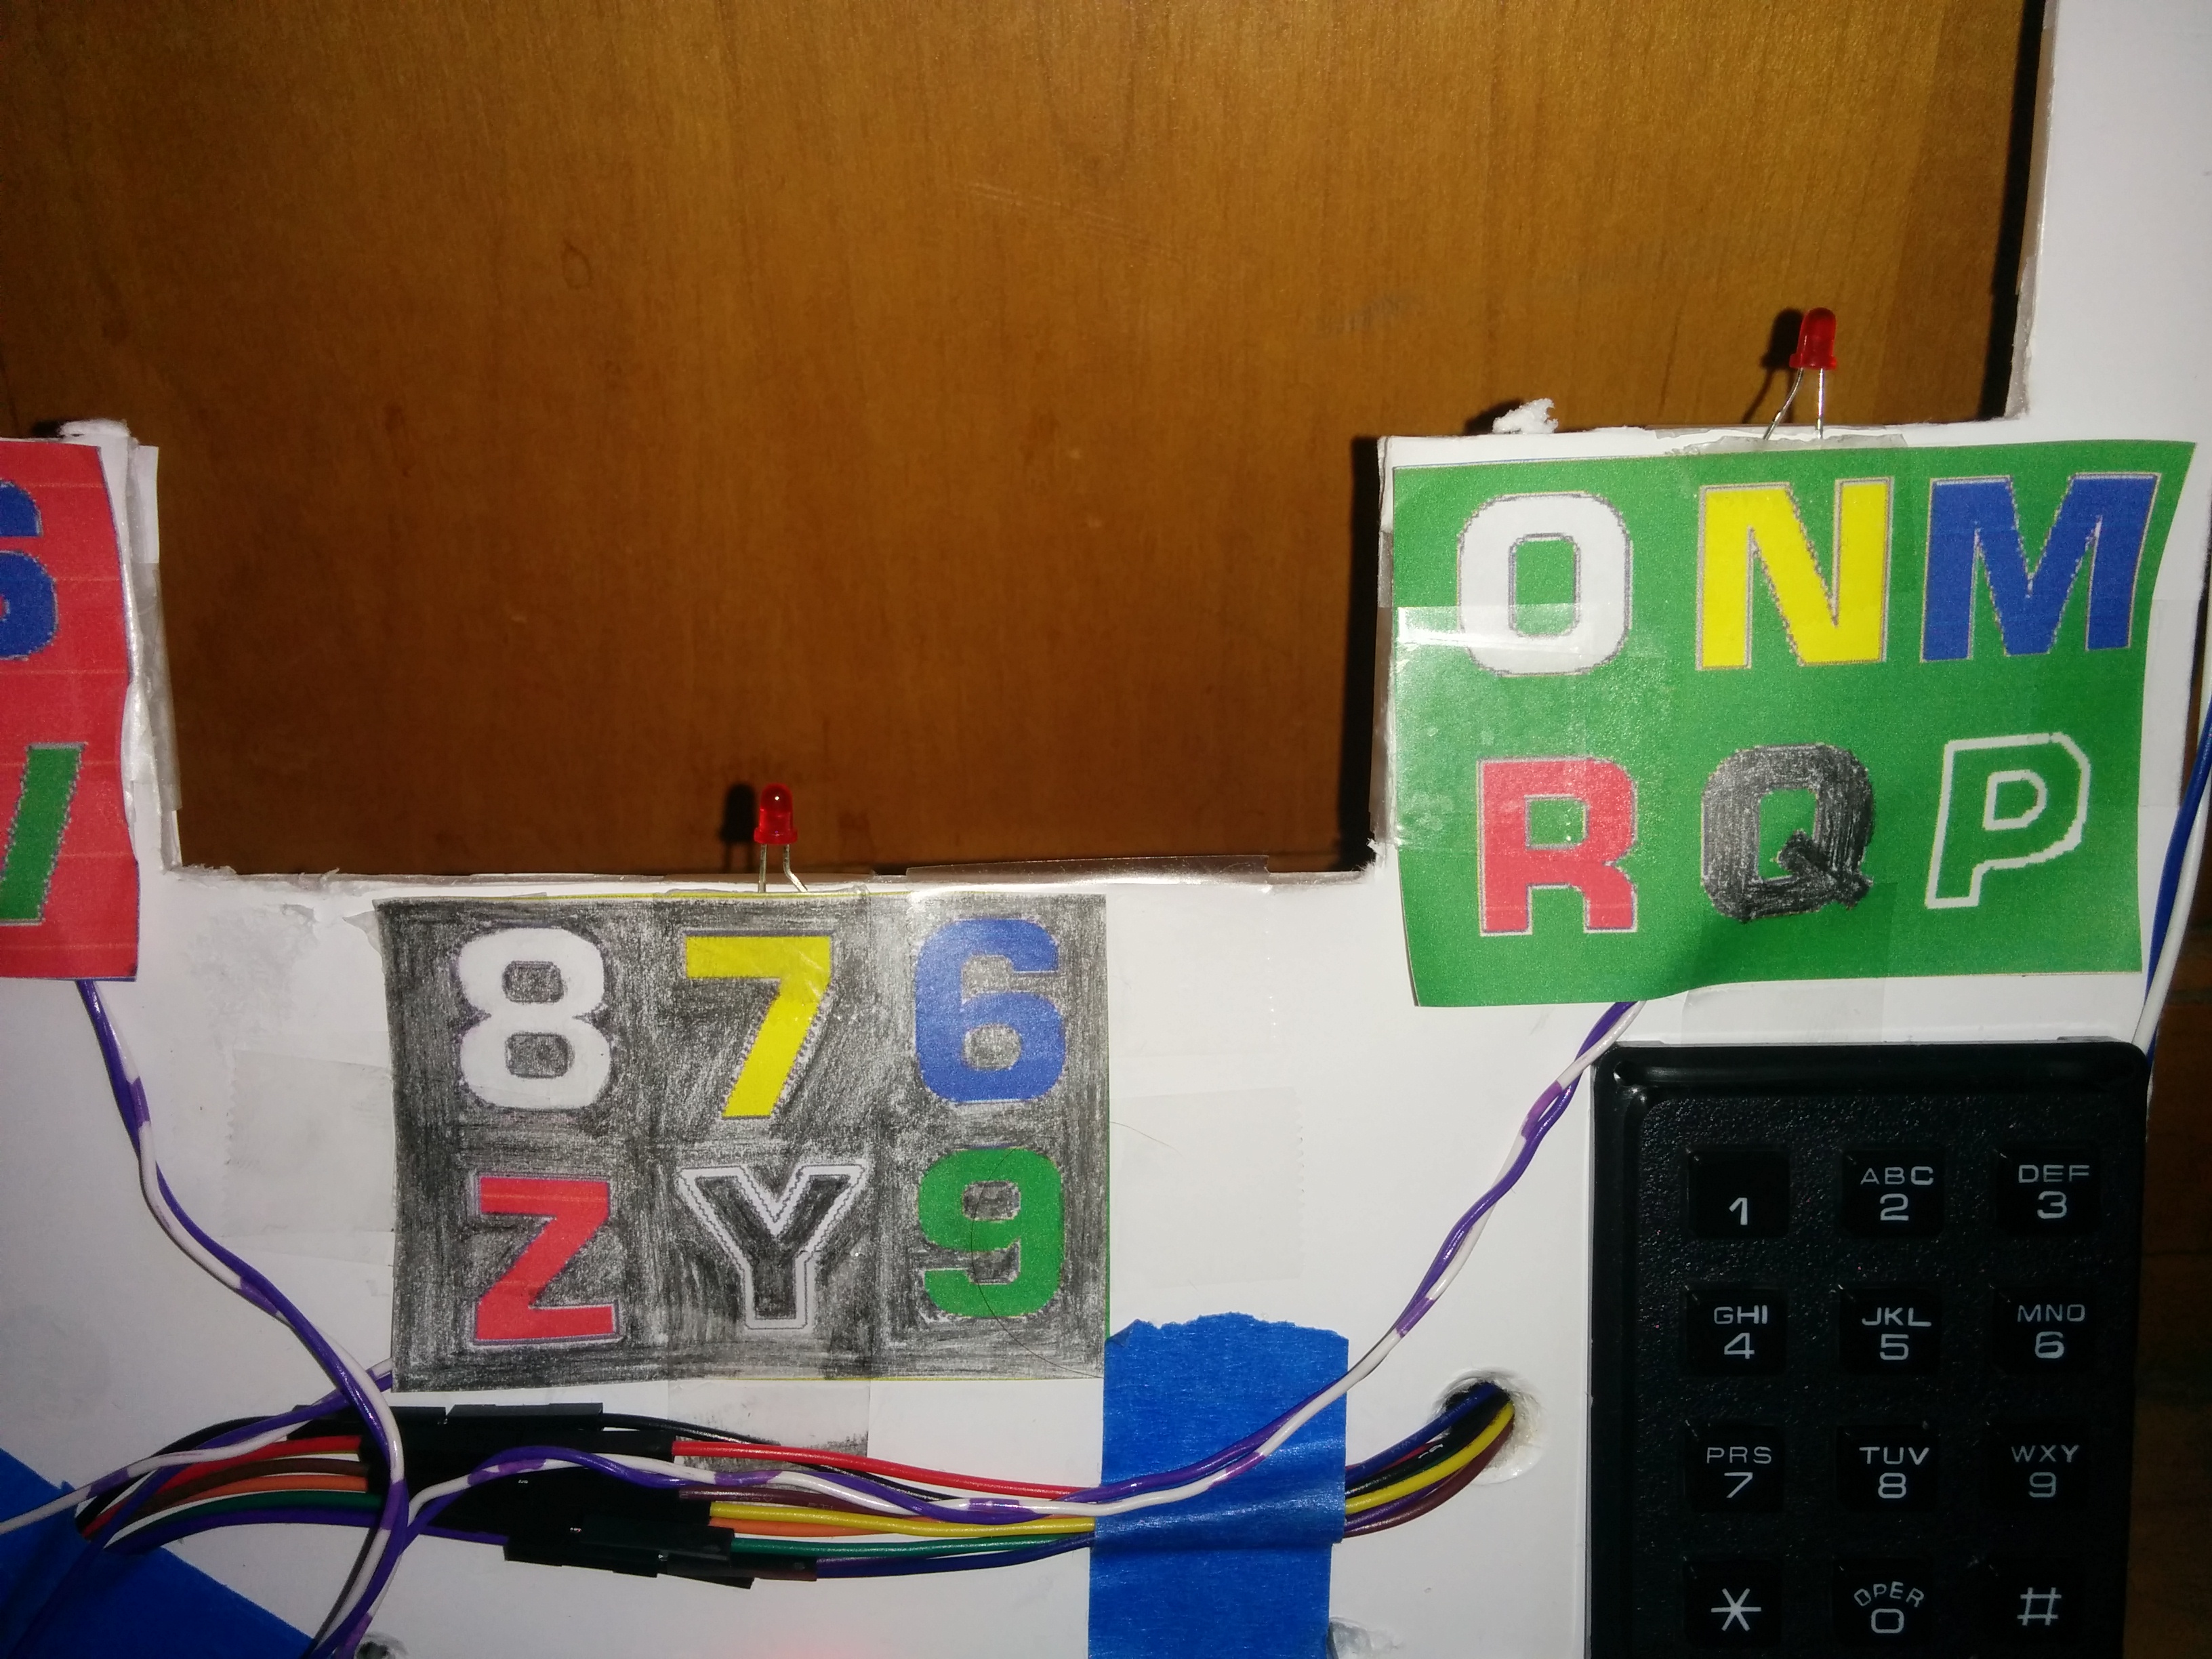
Among other features, it includes an LCD on both sides to show the words spelled so far and LEDs to indicate the currently selected letter group. It is much cheaper than most eye-gaze solutions, but still costs around $1400. I decided to see how much effort and money it would take to make my own. Here’s where I got for about $60.
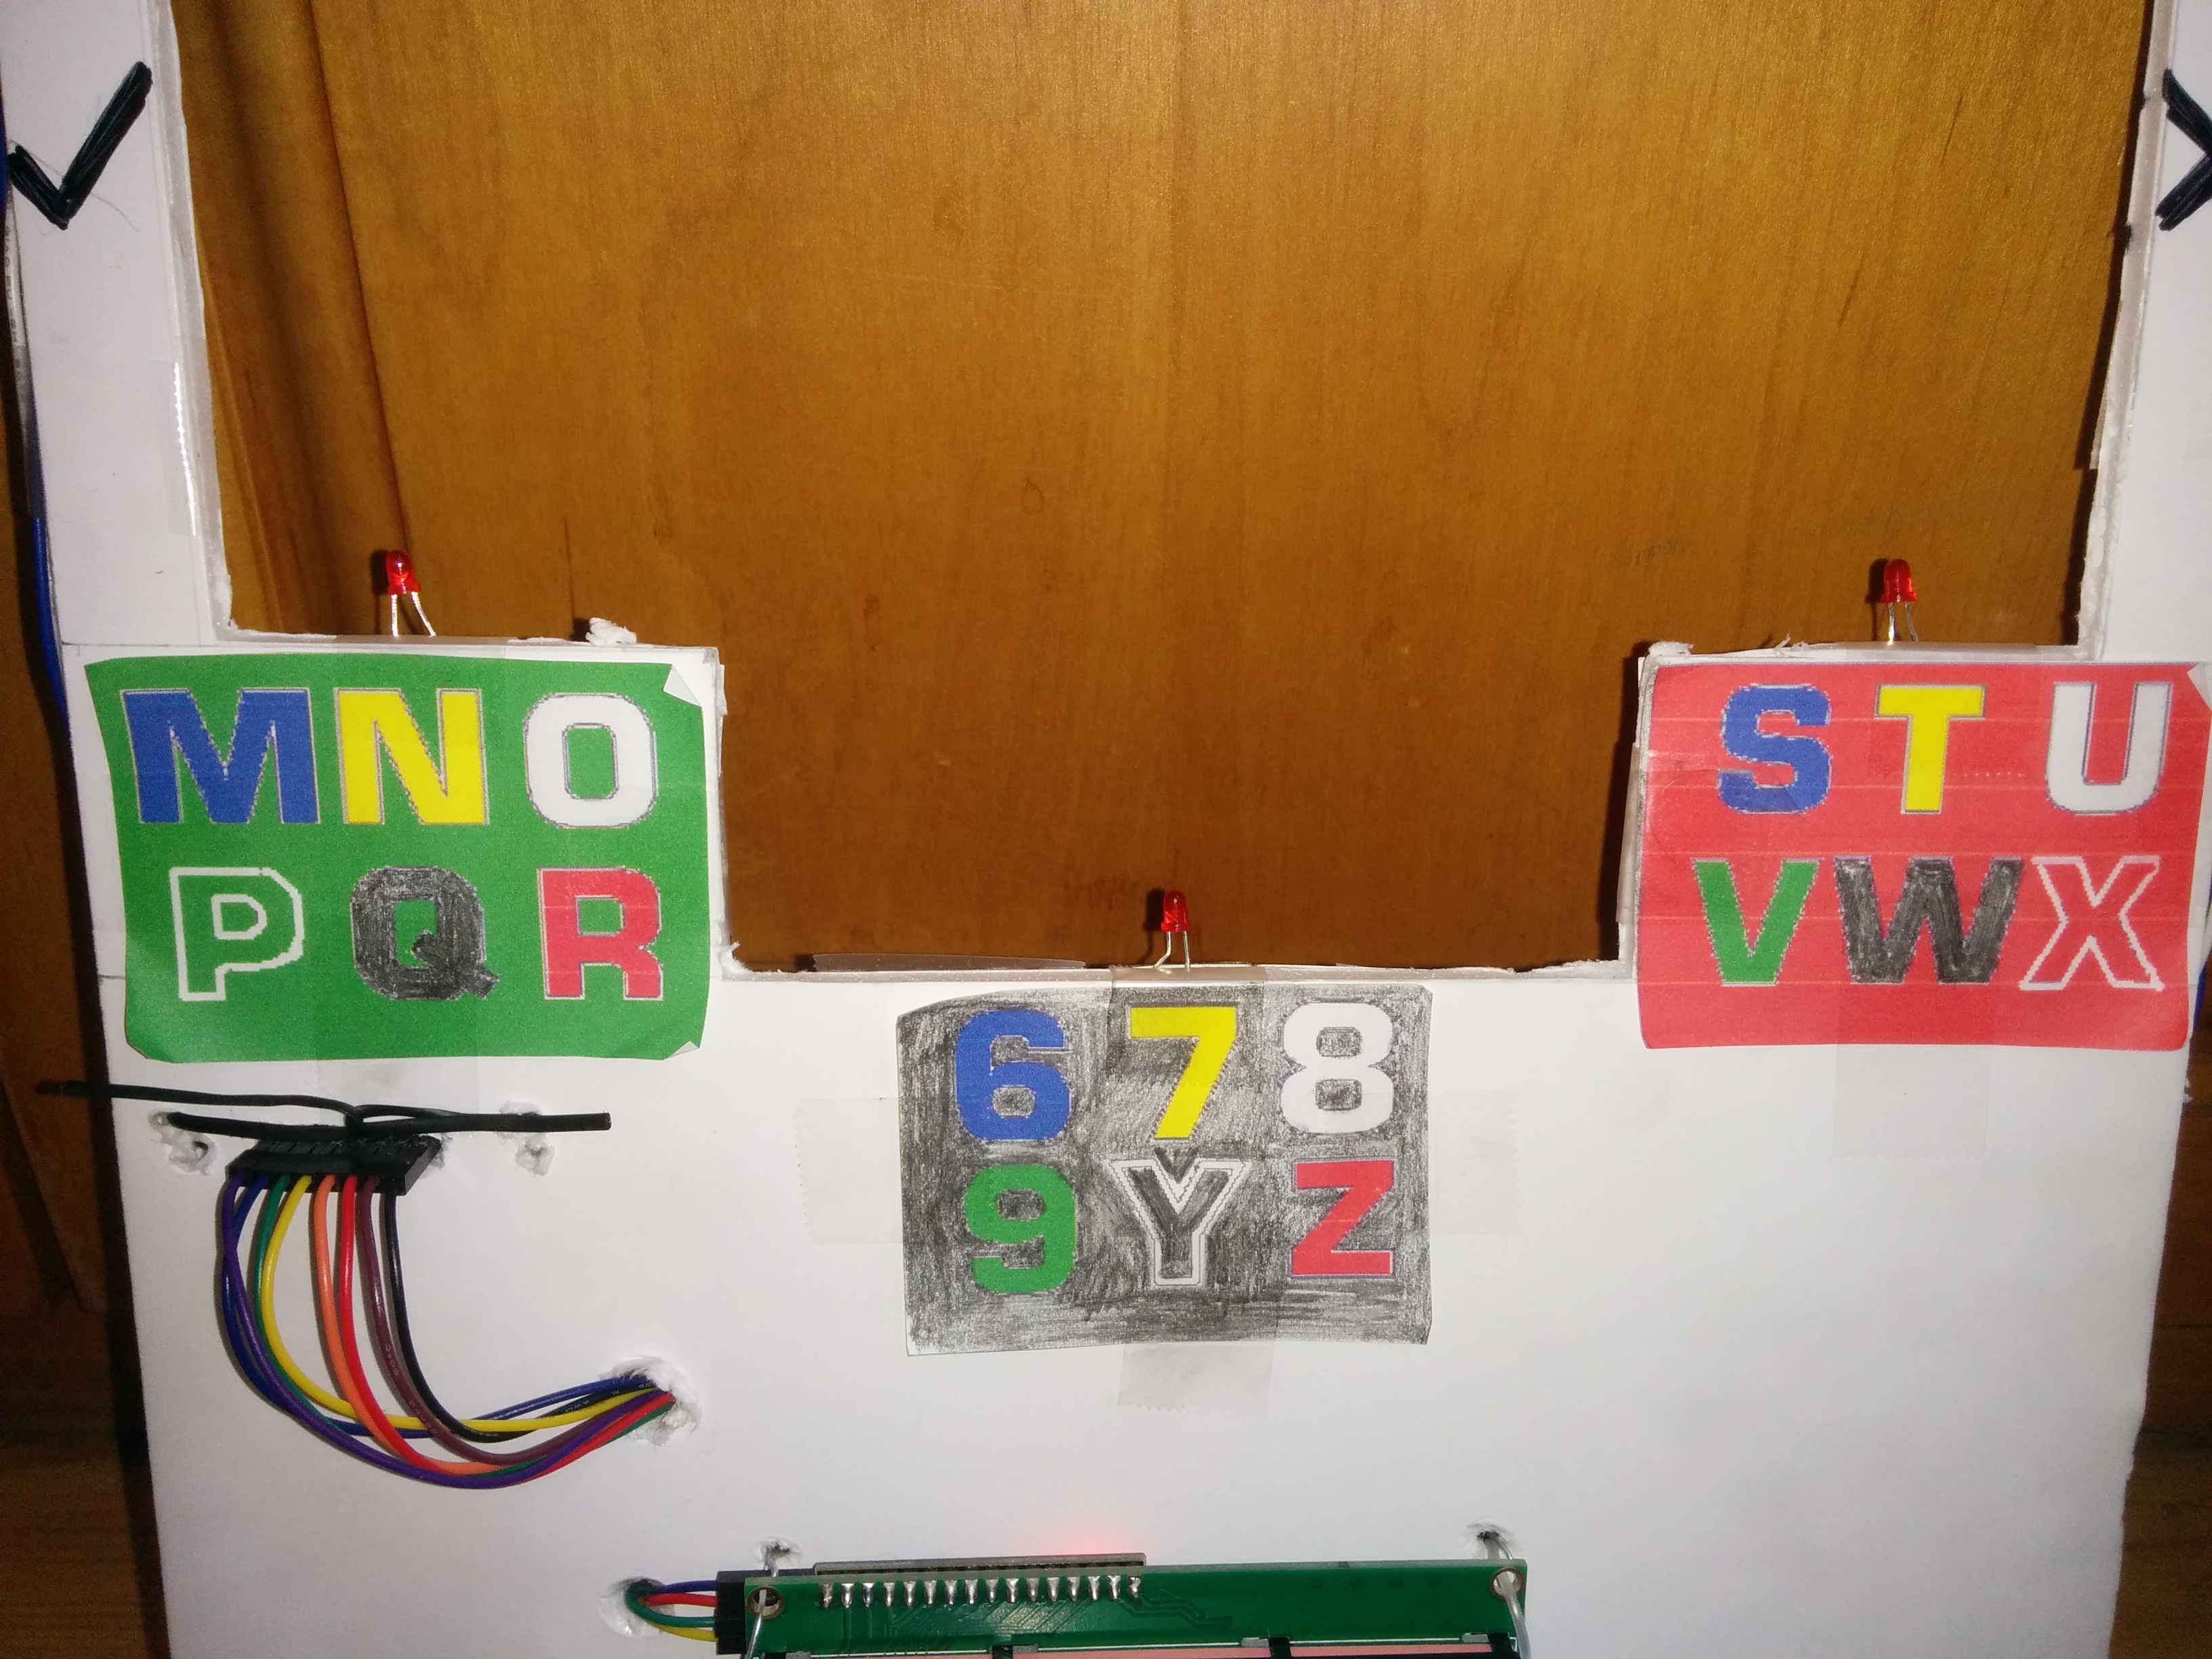
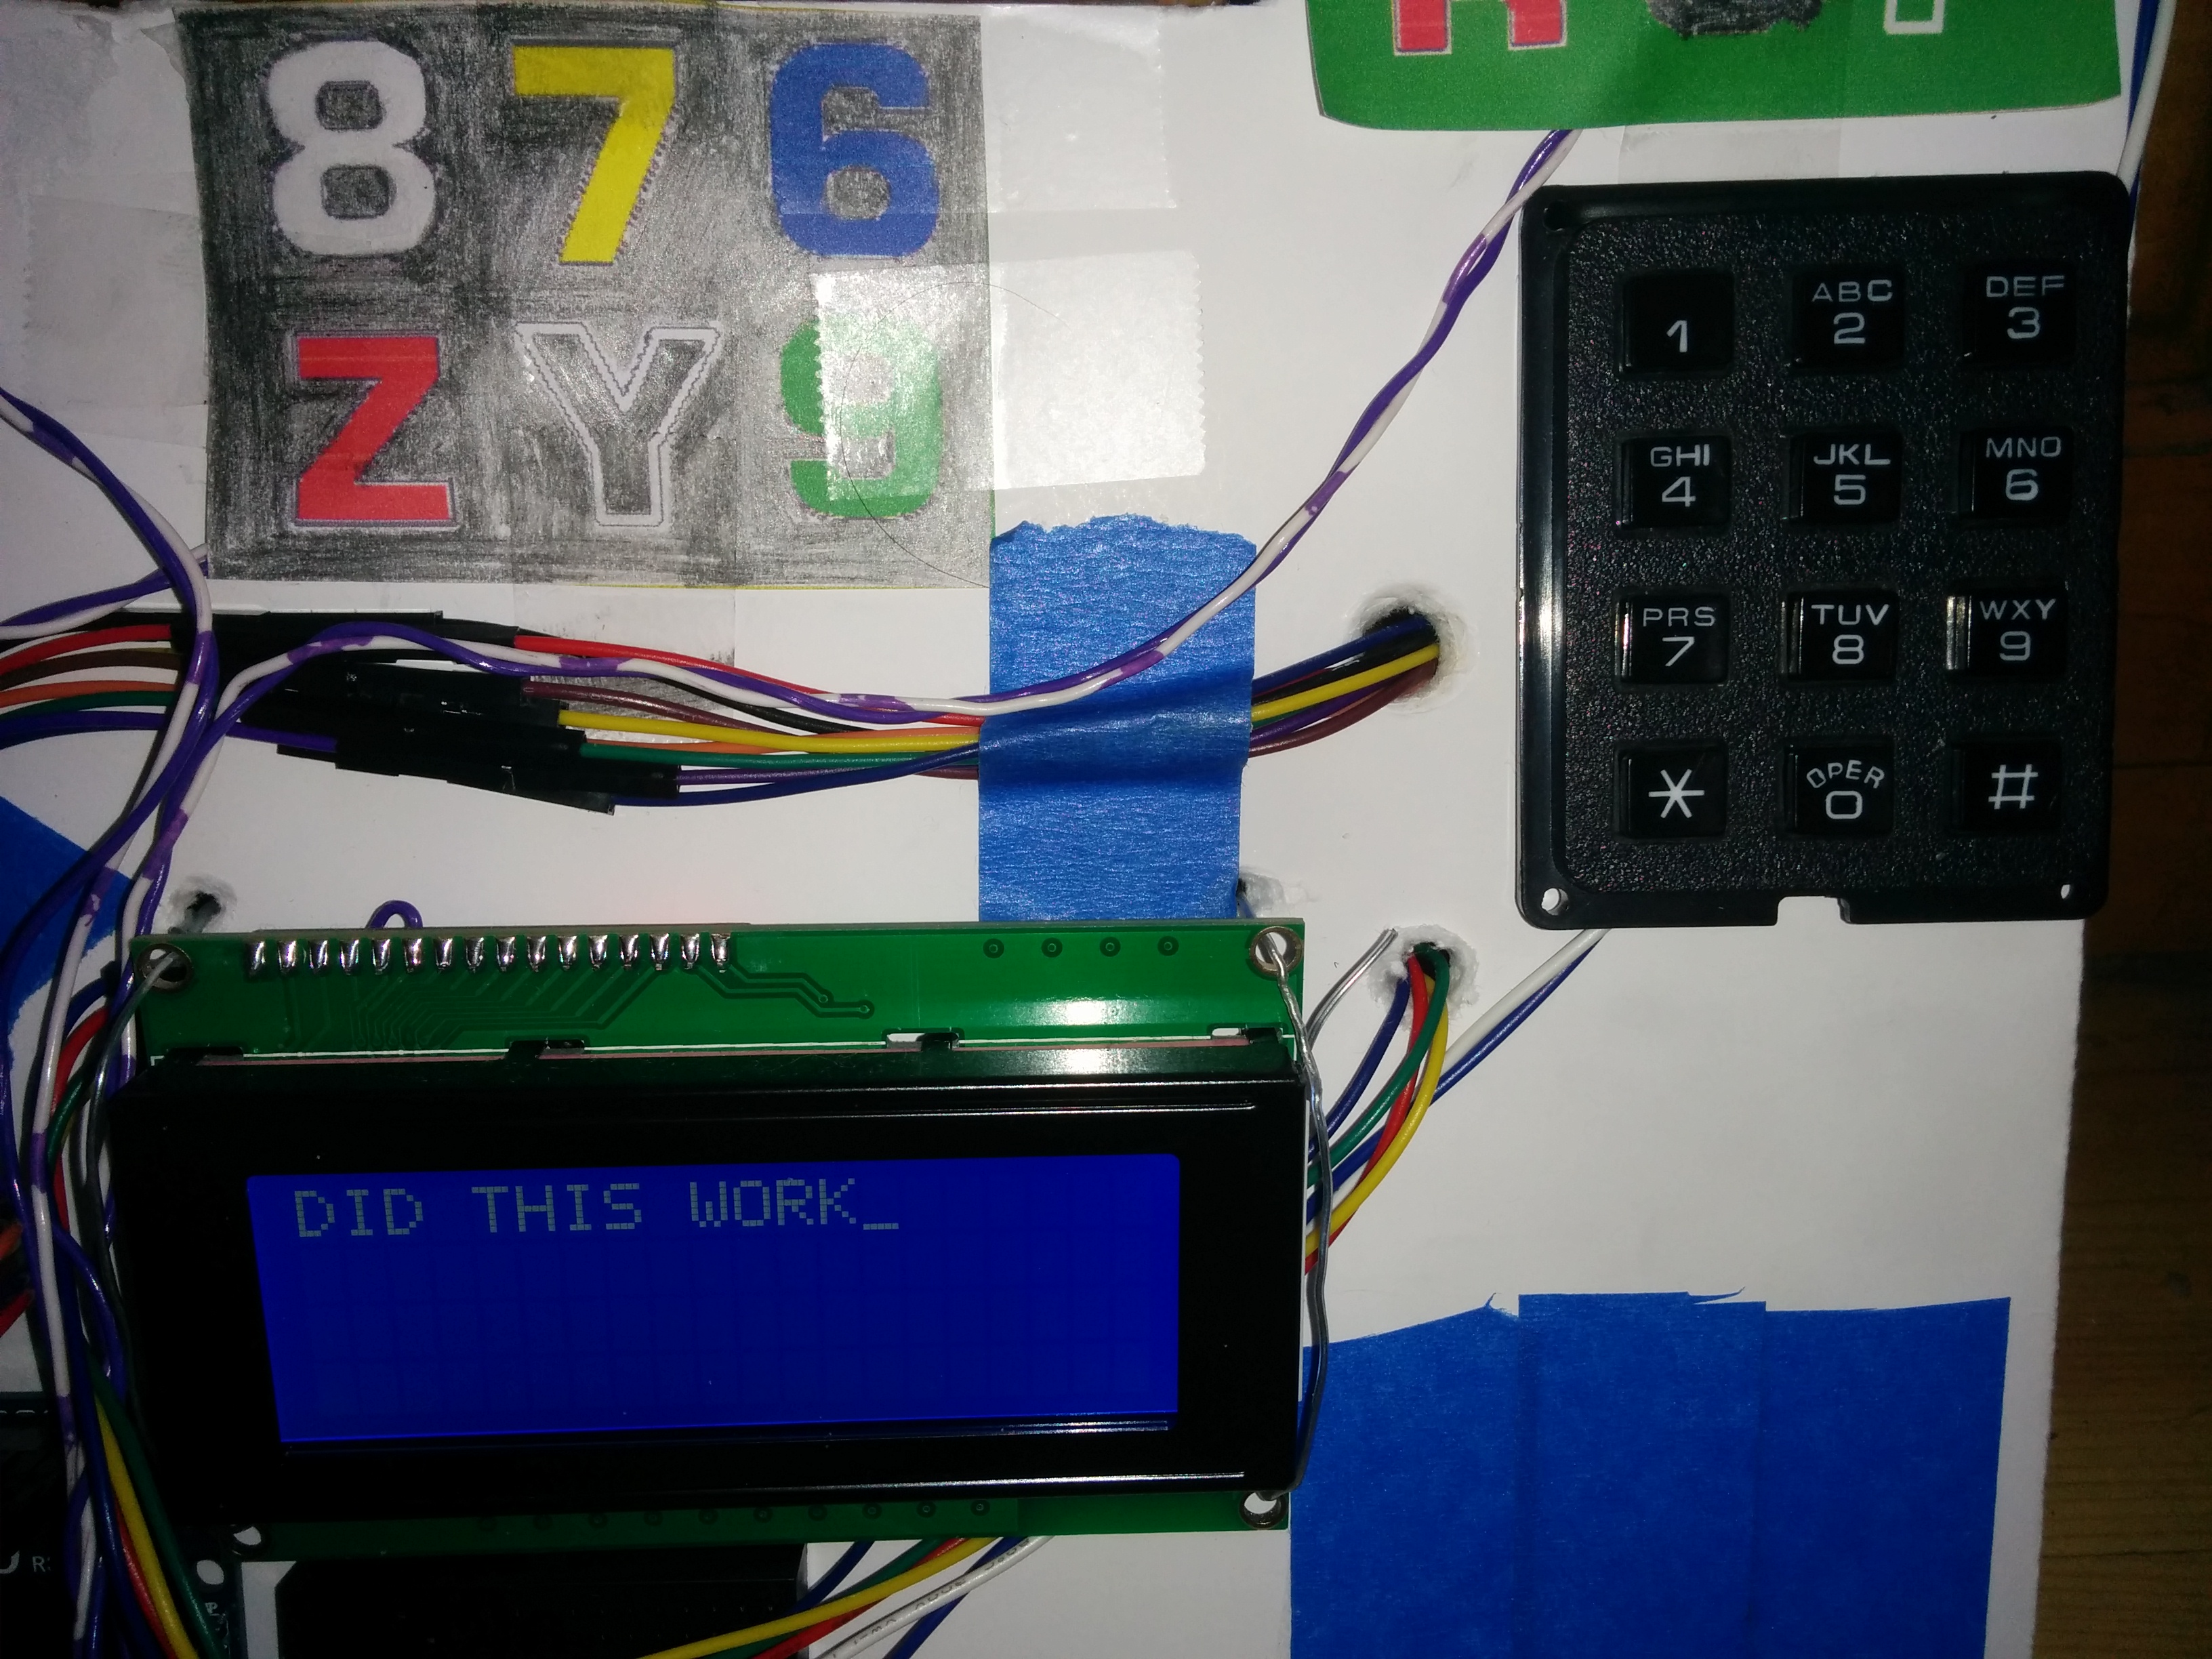
Below are some closeups of this DIY version.
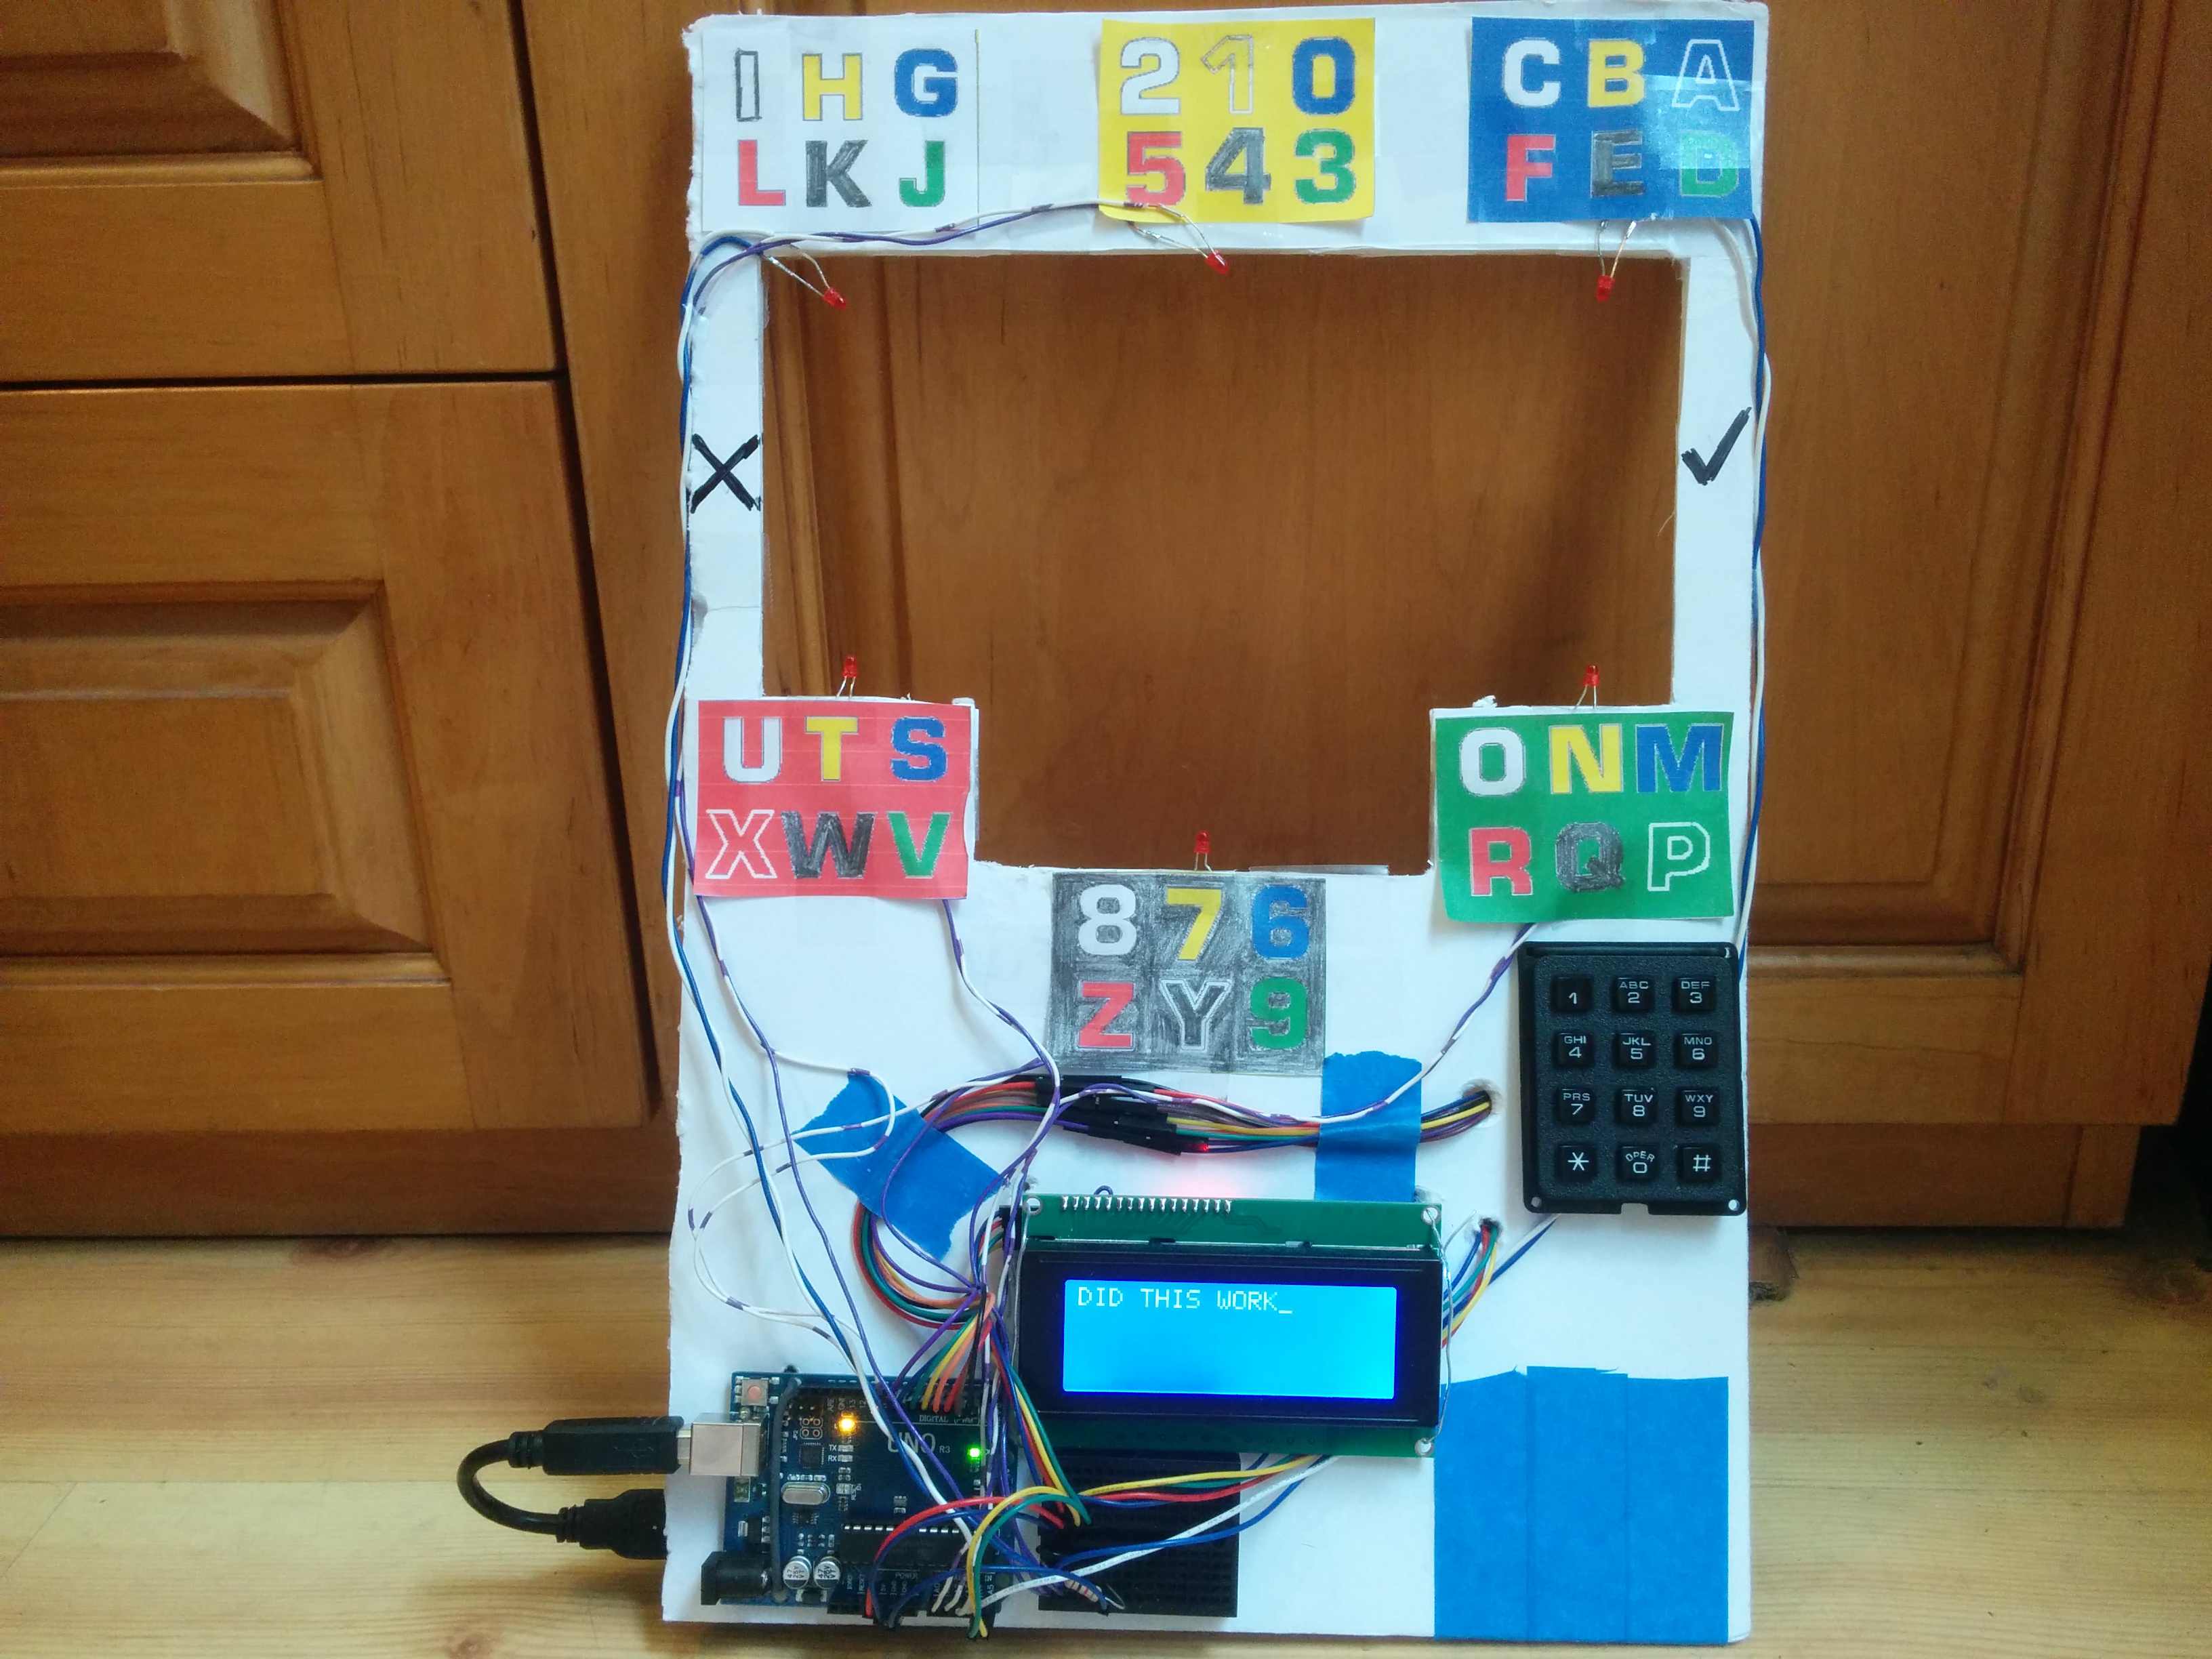
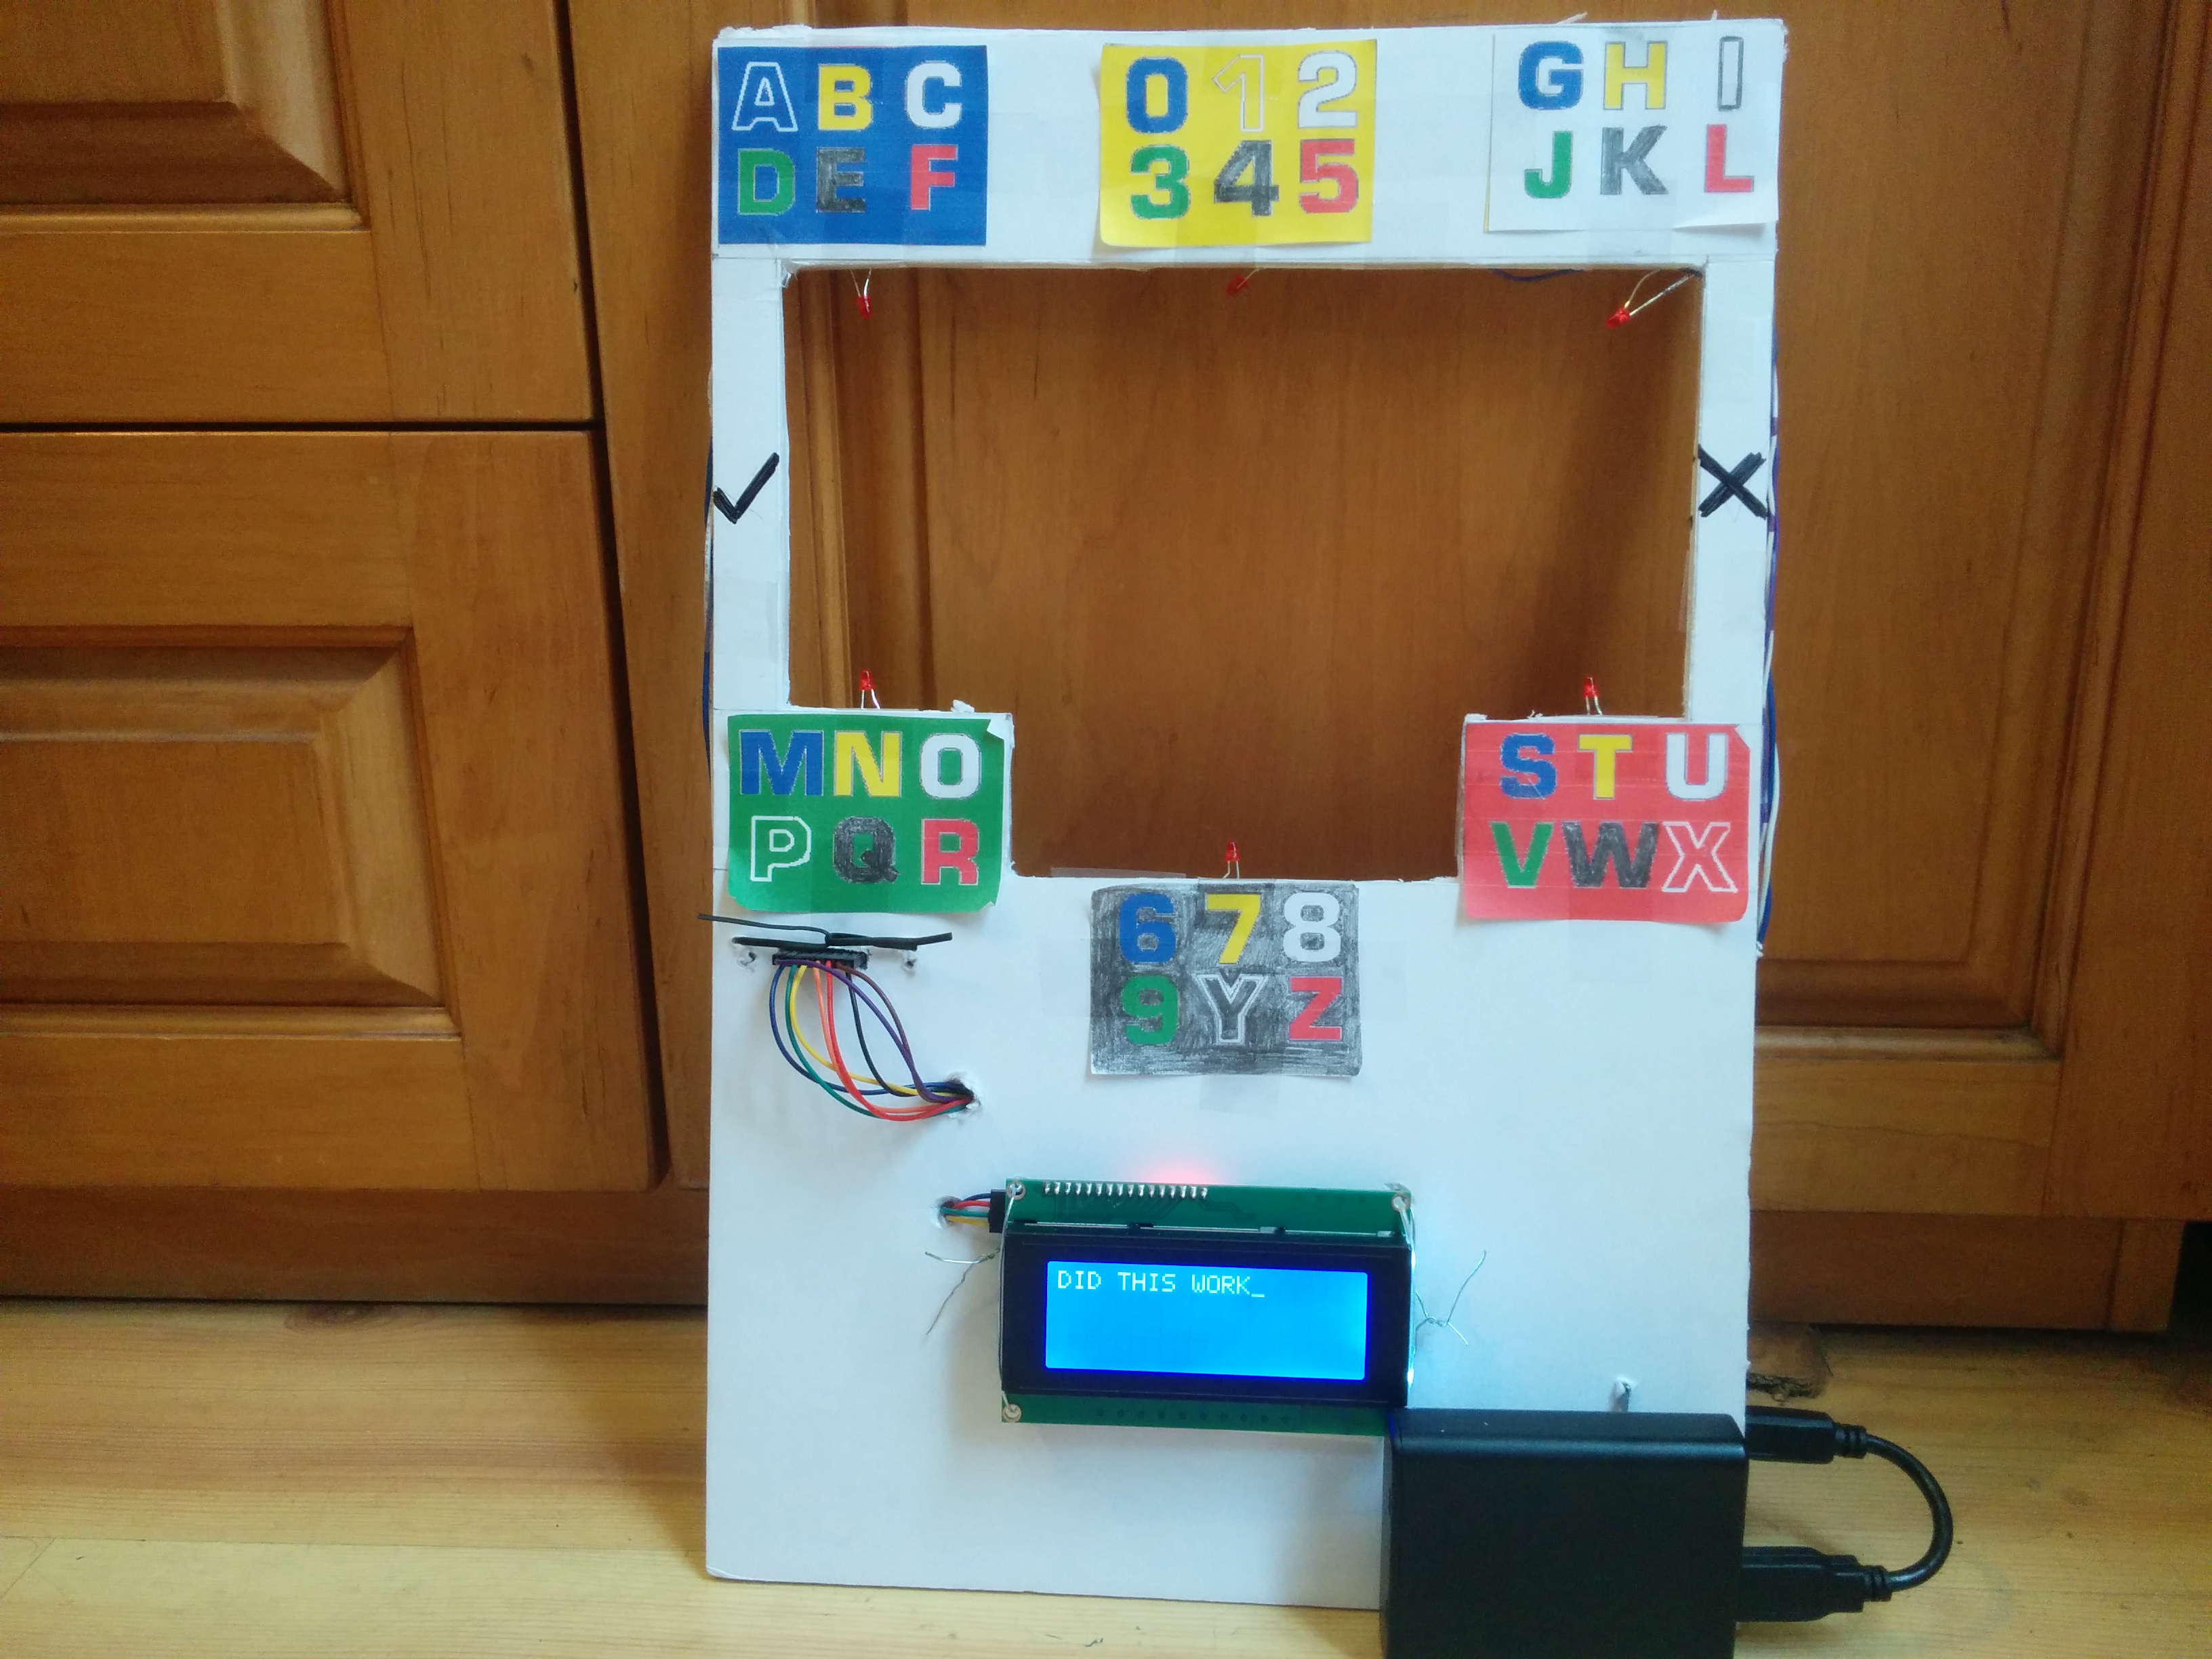
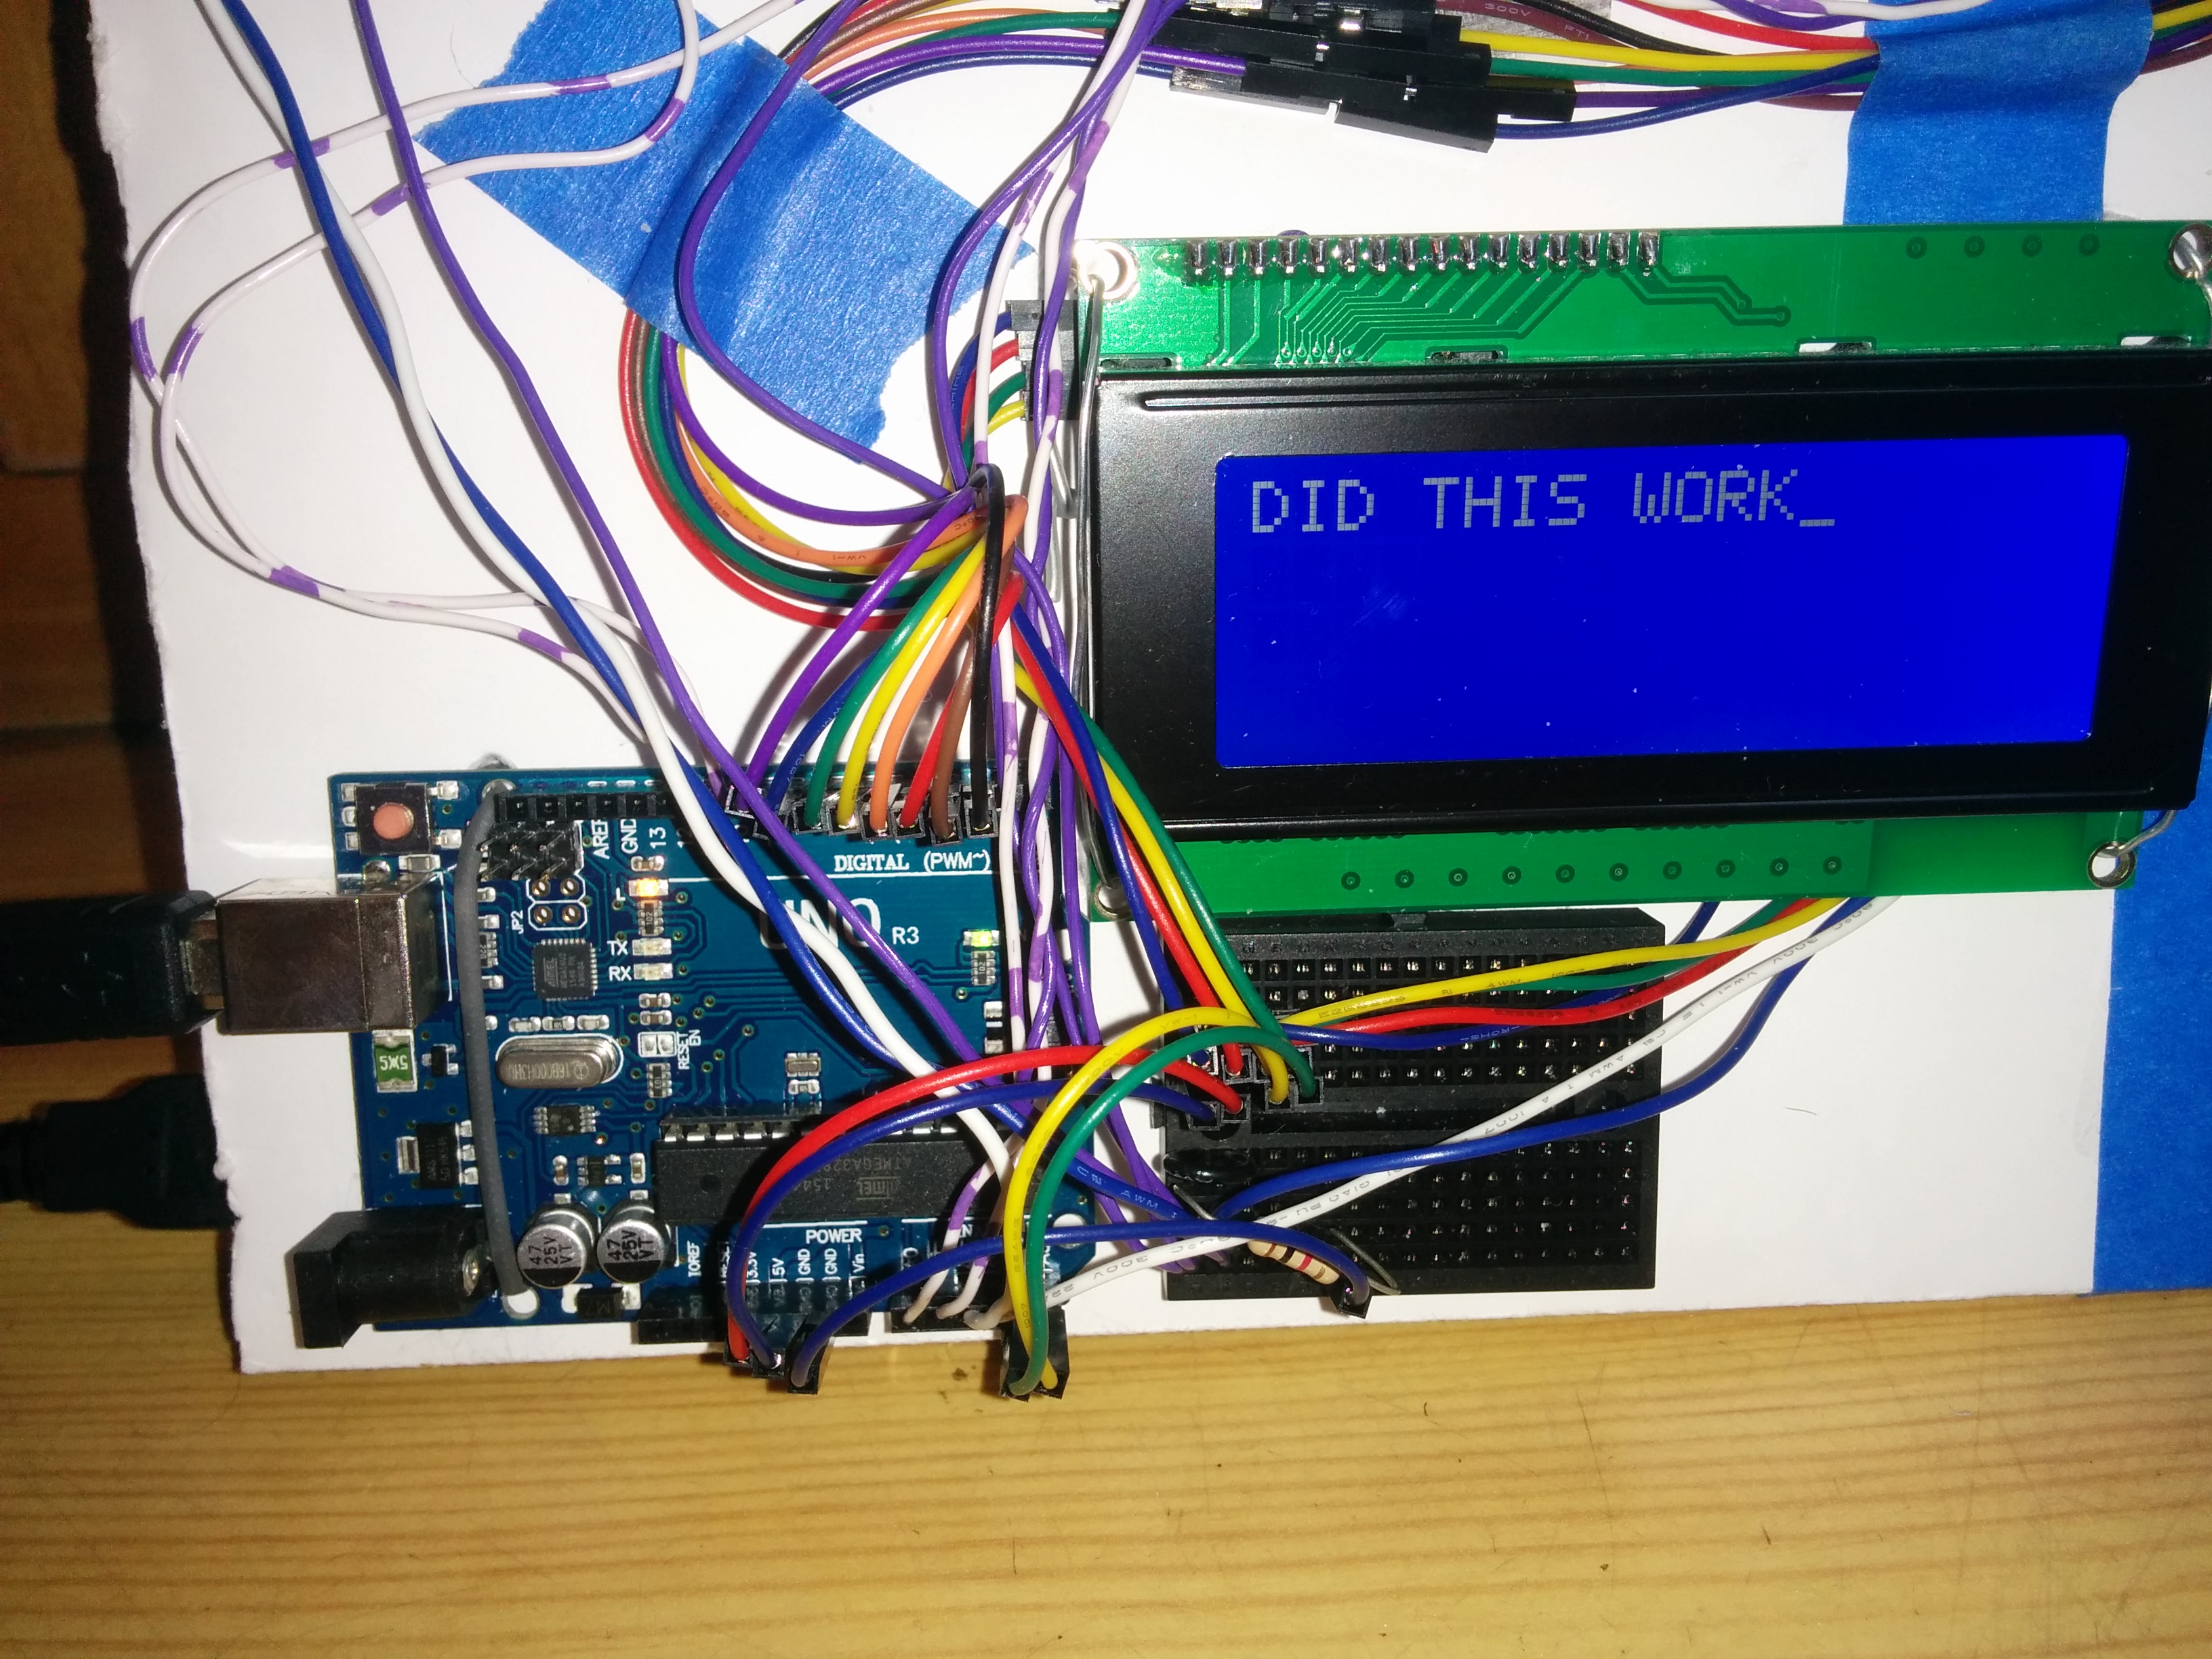
I used foam board for the frame since I had it readily available and it was very very fast to work with, though a sheet of acrylic would be much more durable.
For the electronics here’s what I used:
- Arduino Uno to run the logic: https://www.adafruit.com/products/50
- Keypad to minimize button wiring: https://www.adafruit.com/products/1824
- 20×4 character LCDs as displays: http://www.sainsmart.com/sainsmart-iic-i2c-twi-serial-2004-20×4-lcd-module-shield-for-arduino-uno-mega-r3.html
- Battery holder w/ USB output: http://tinkersphere.com/batteries-holders/430-raspberry-pi-b-battery-pack-4-aa-battery-holder-with-usb-output.html
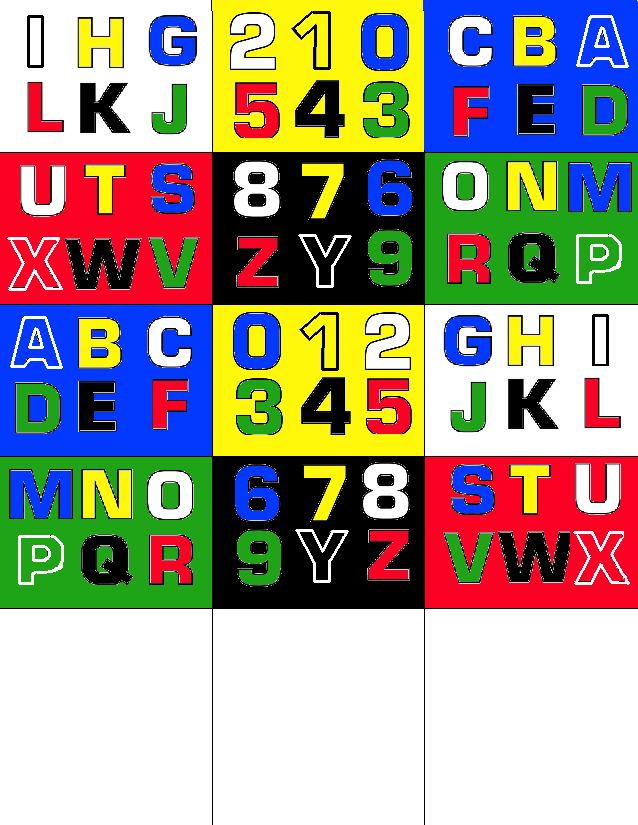
An image you can save, print and cut out for the letter groups on both sides:
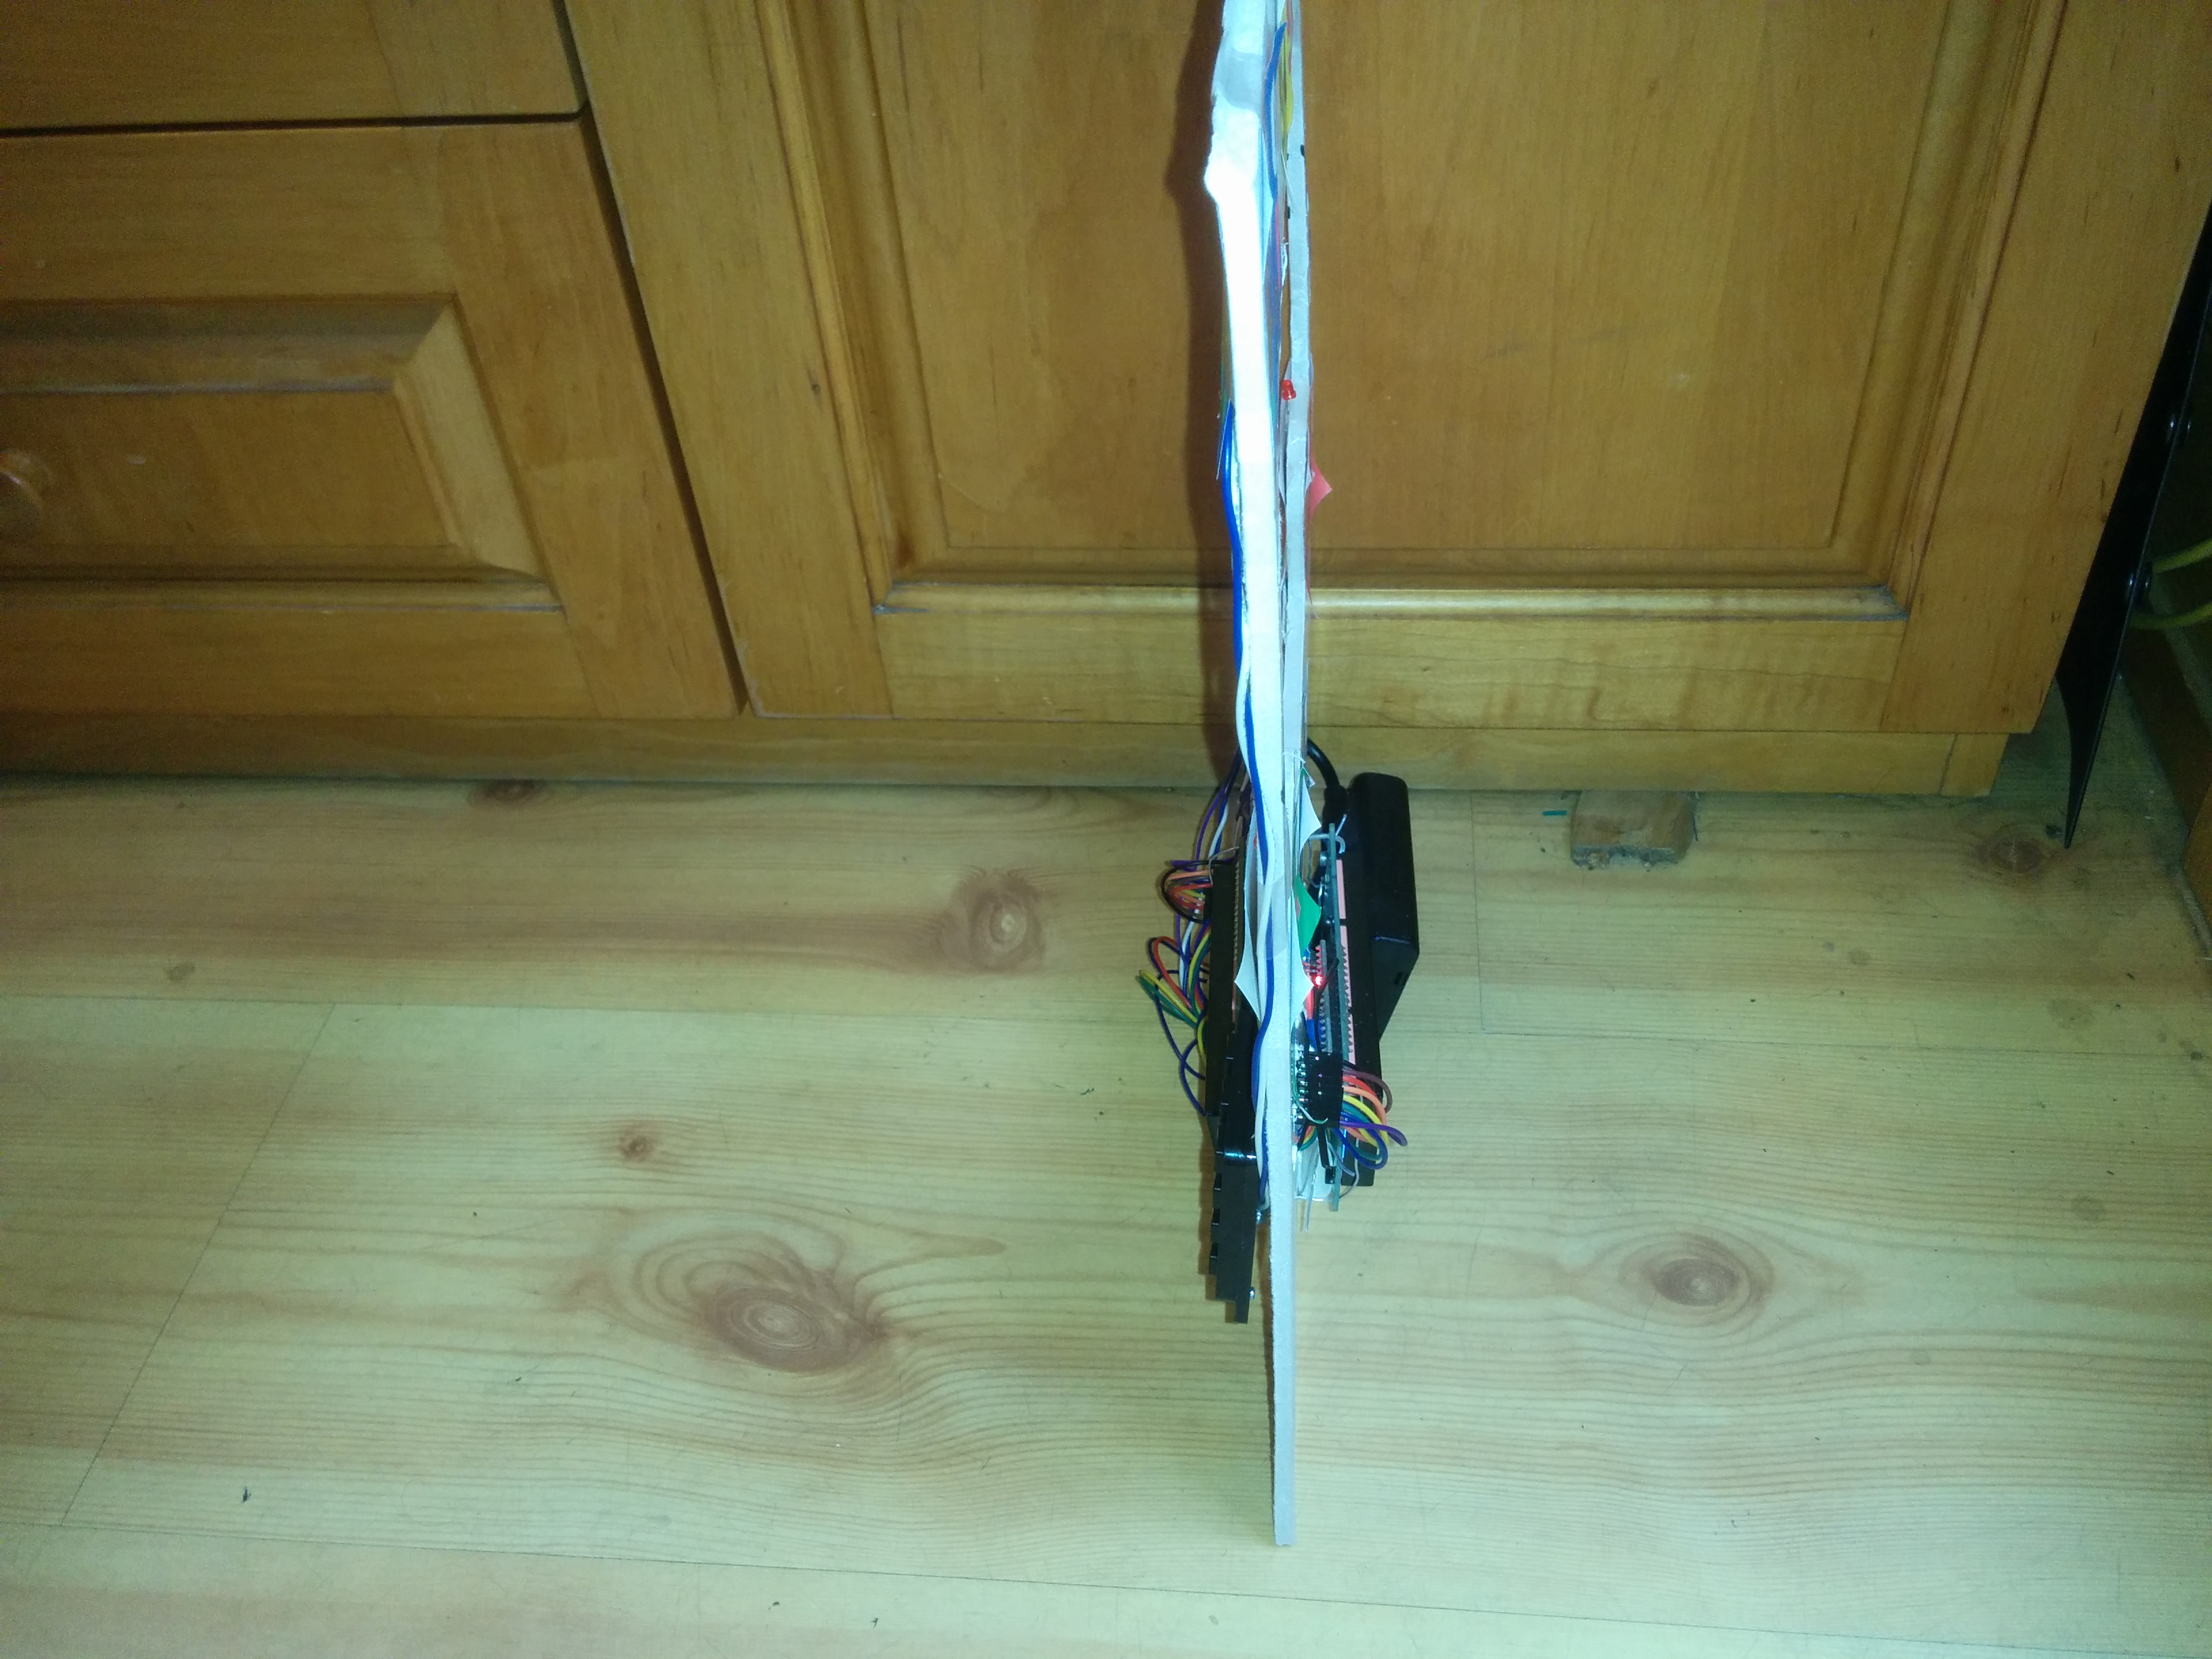
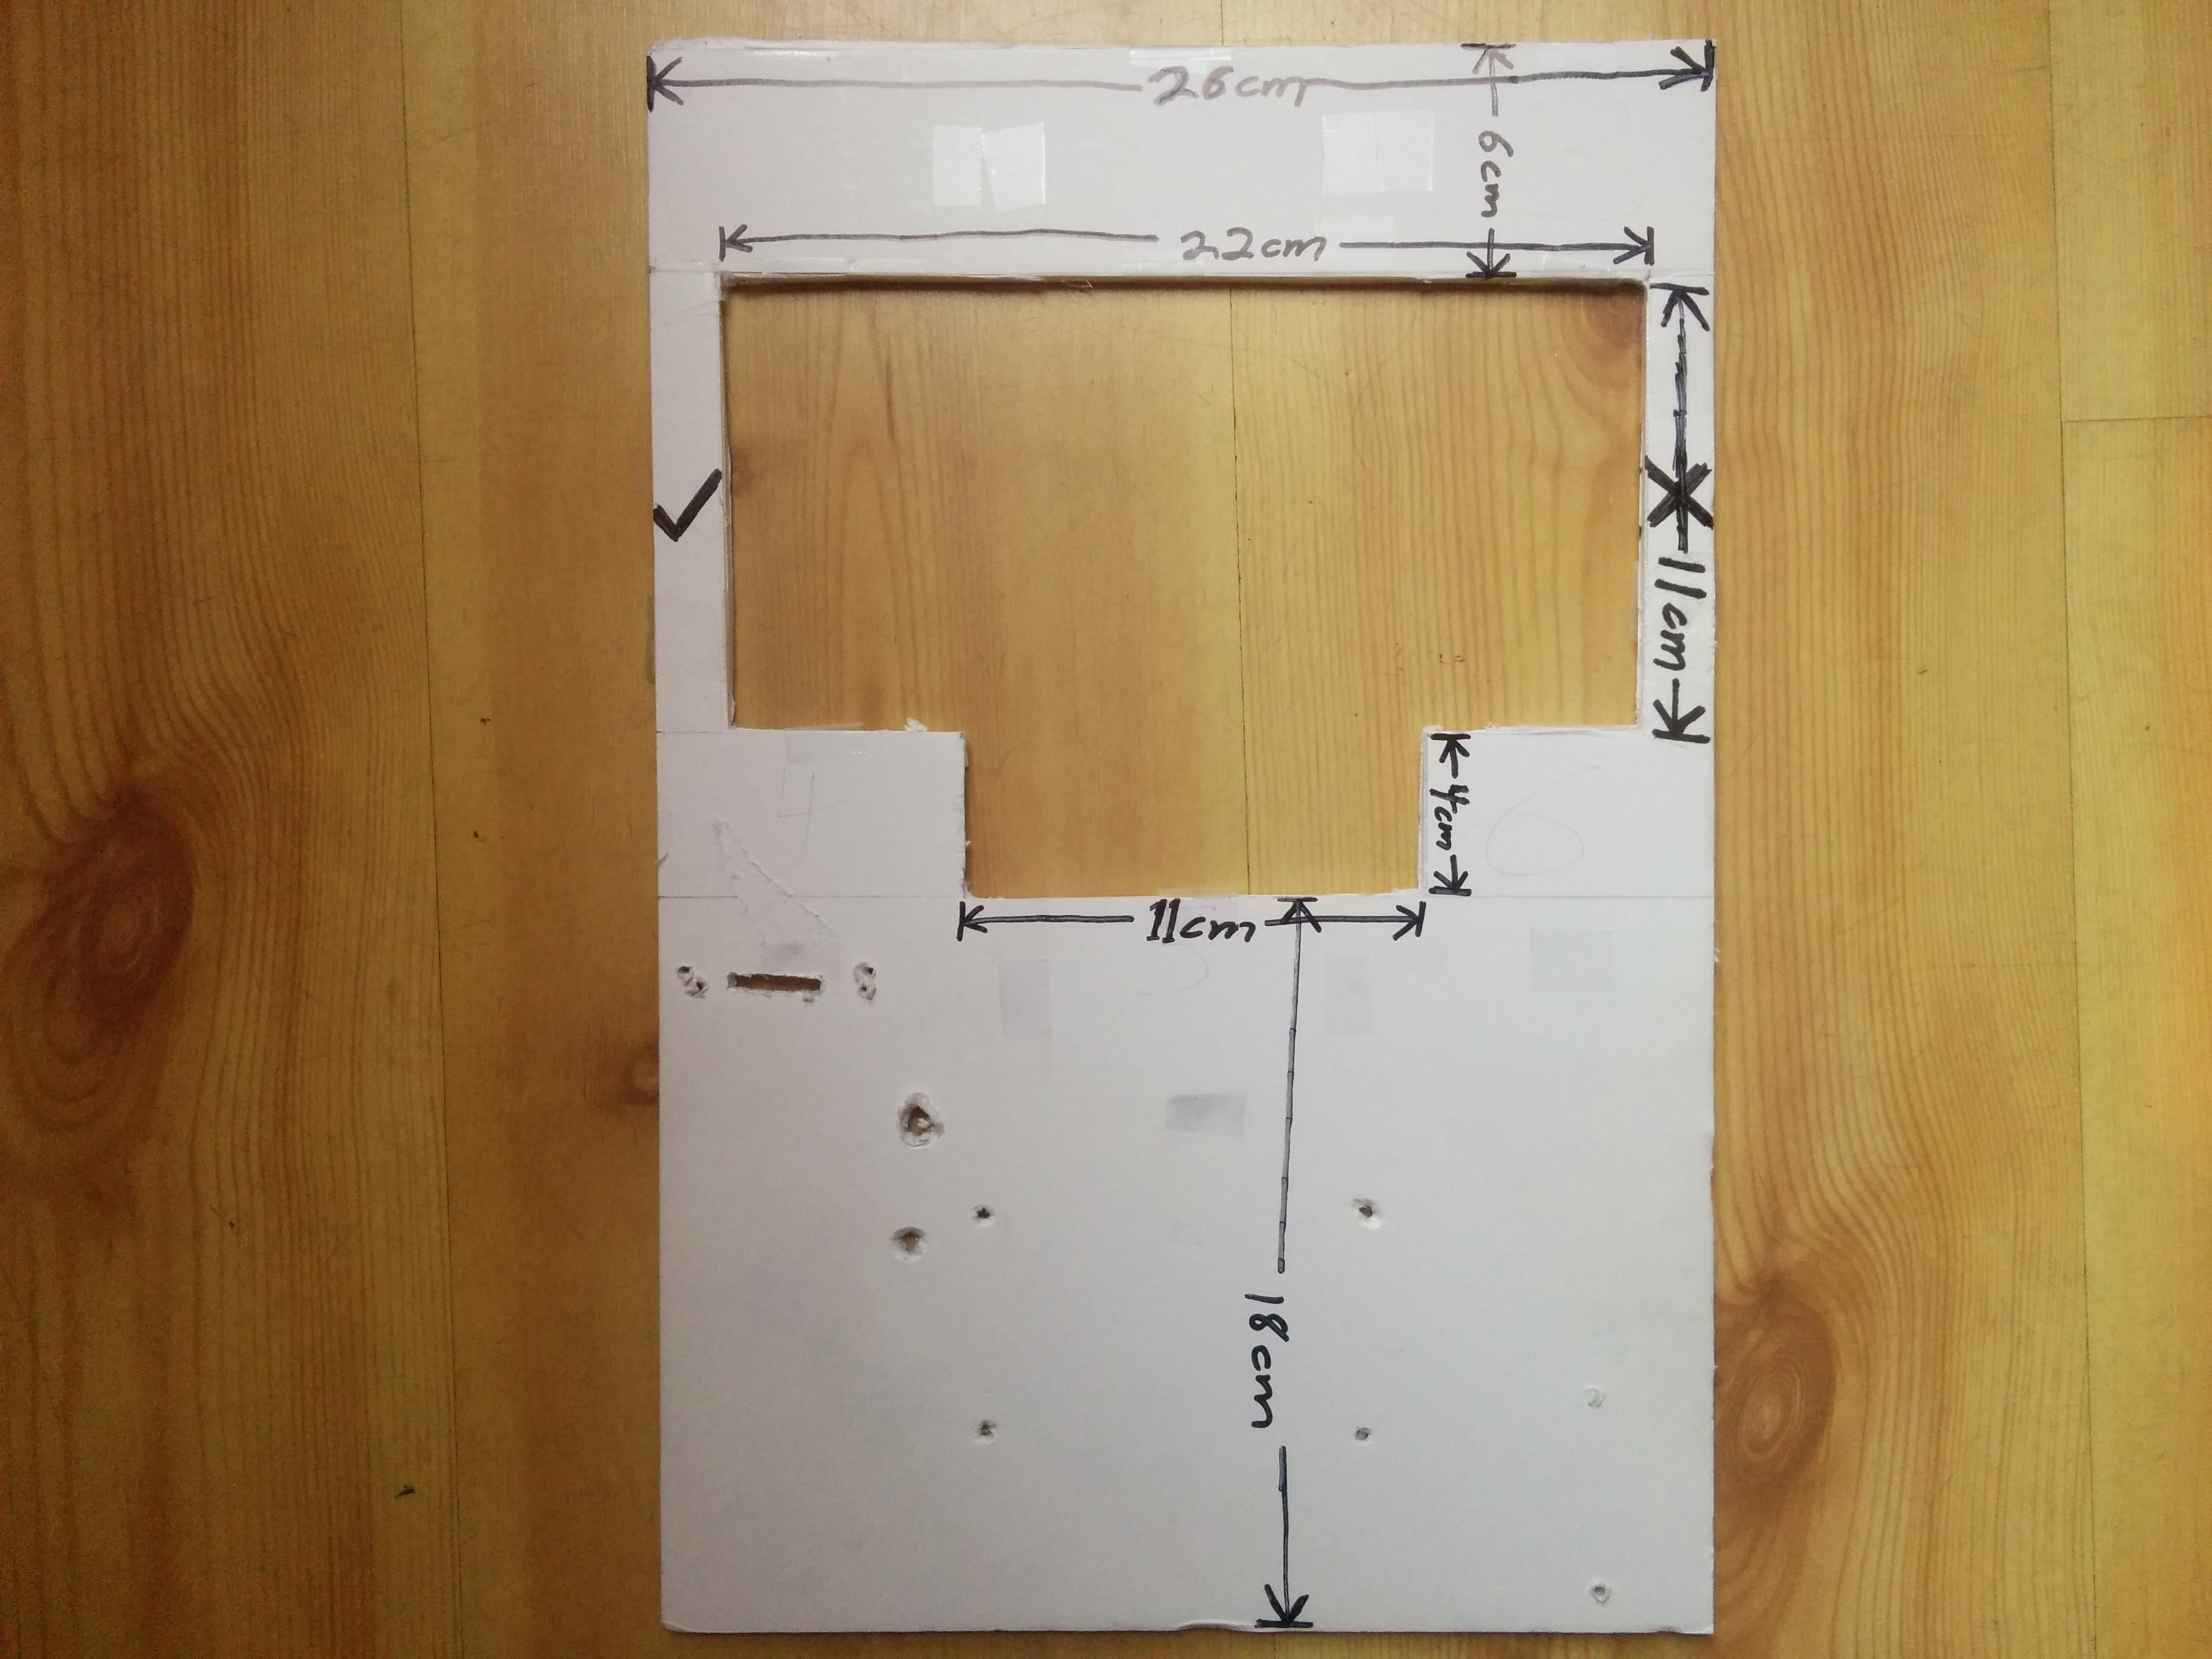
Measurements of the foam board frame with the components removed:
You can grab the code I wrote here: https://github.com/bobparadiso/ElectronicEyeTransferFrame
There’s lots of different displays out there that would work just fine for a project like this. The ones I had on hand had a few quirks and it was really useful to have these resources to get this up and running very quickly:
https://forum.arduino.cc/index.php?topic=277788.0
http://brainwagon.org/2015/04/22/using-a-sainsmart-lcd-panel-with-the-arduino-1-6-3-ide/
https://bitbucket.org/fmalpartida/new-liquidcrystal/wiki/Home
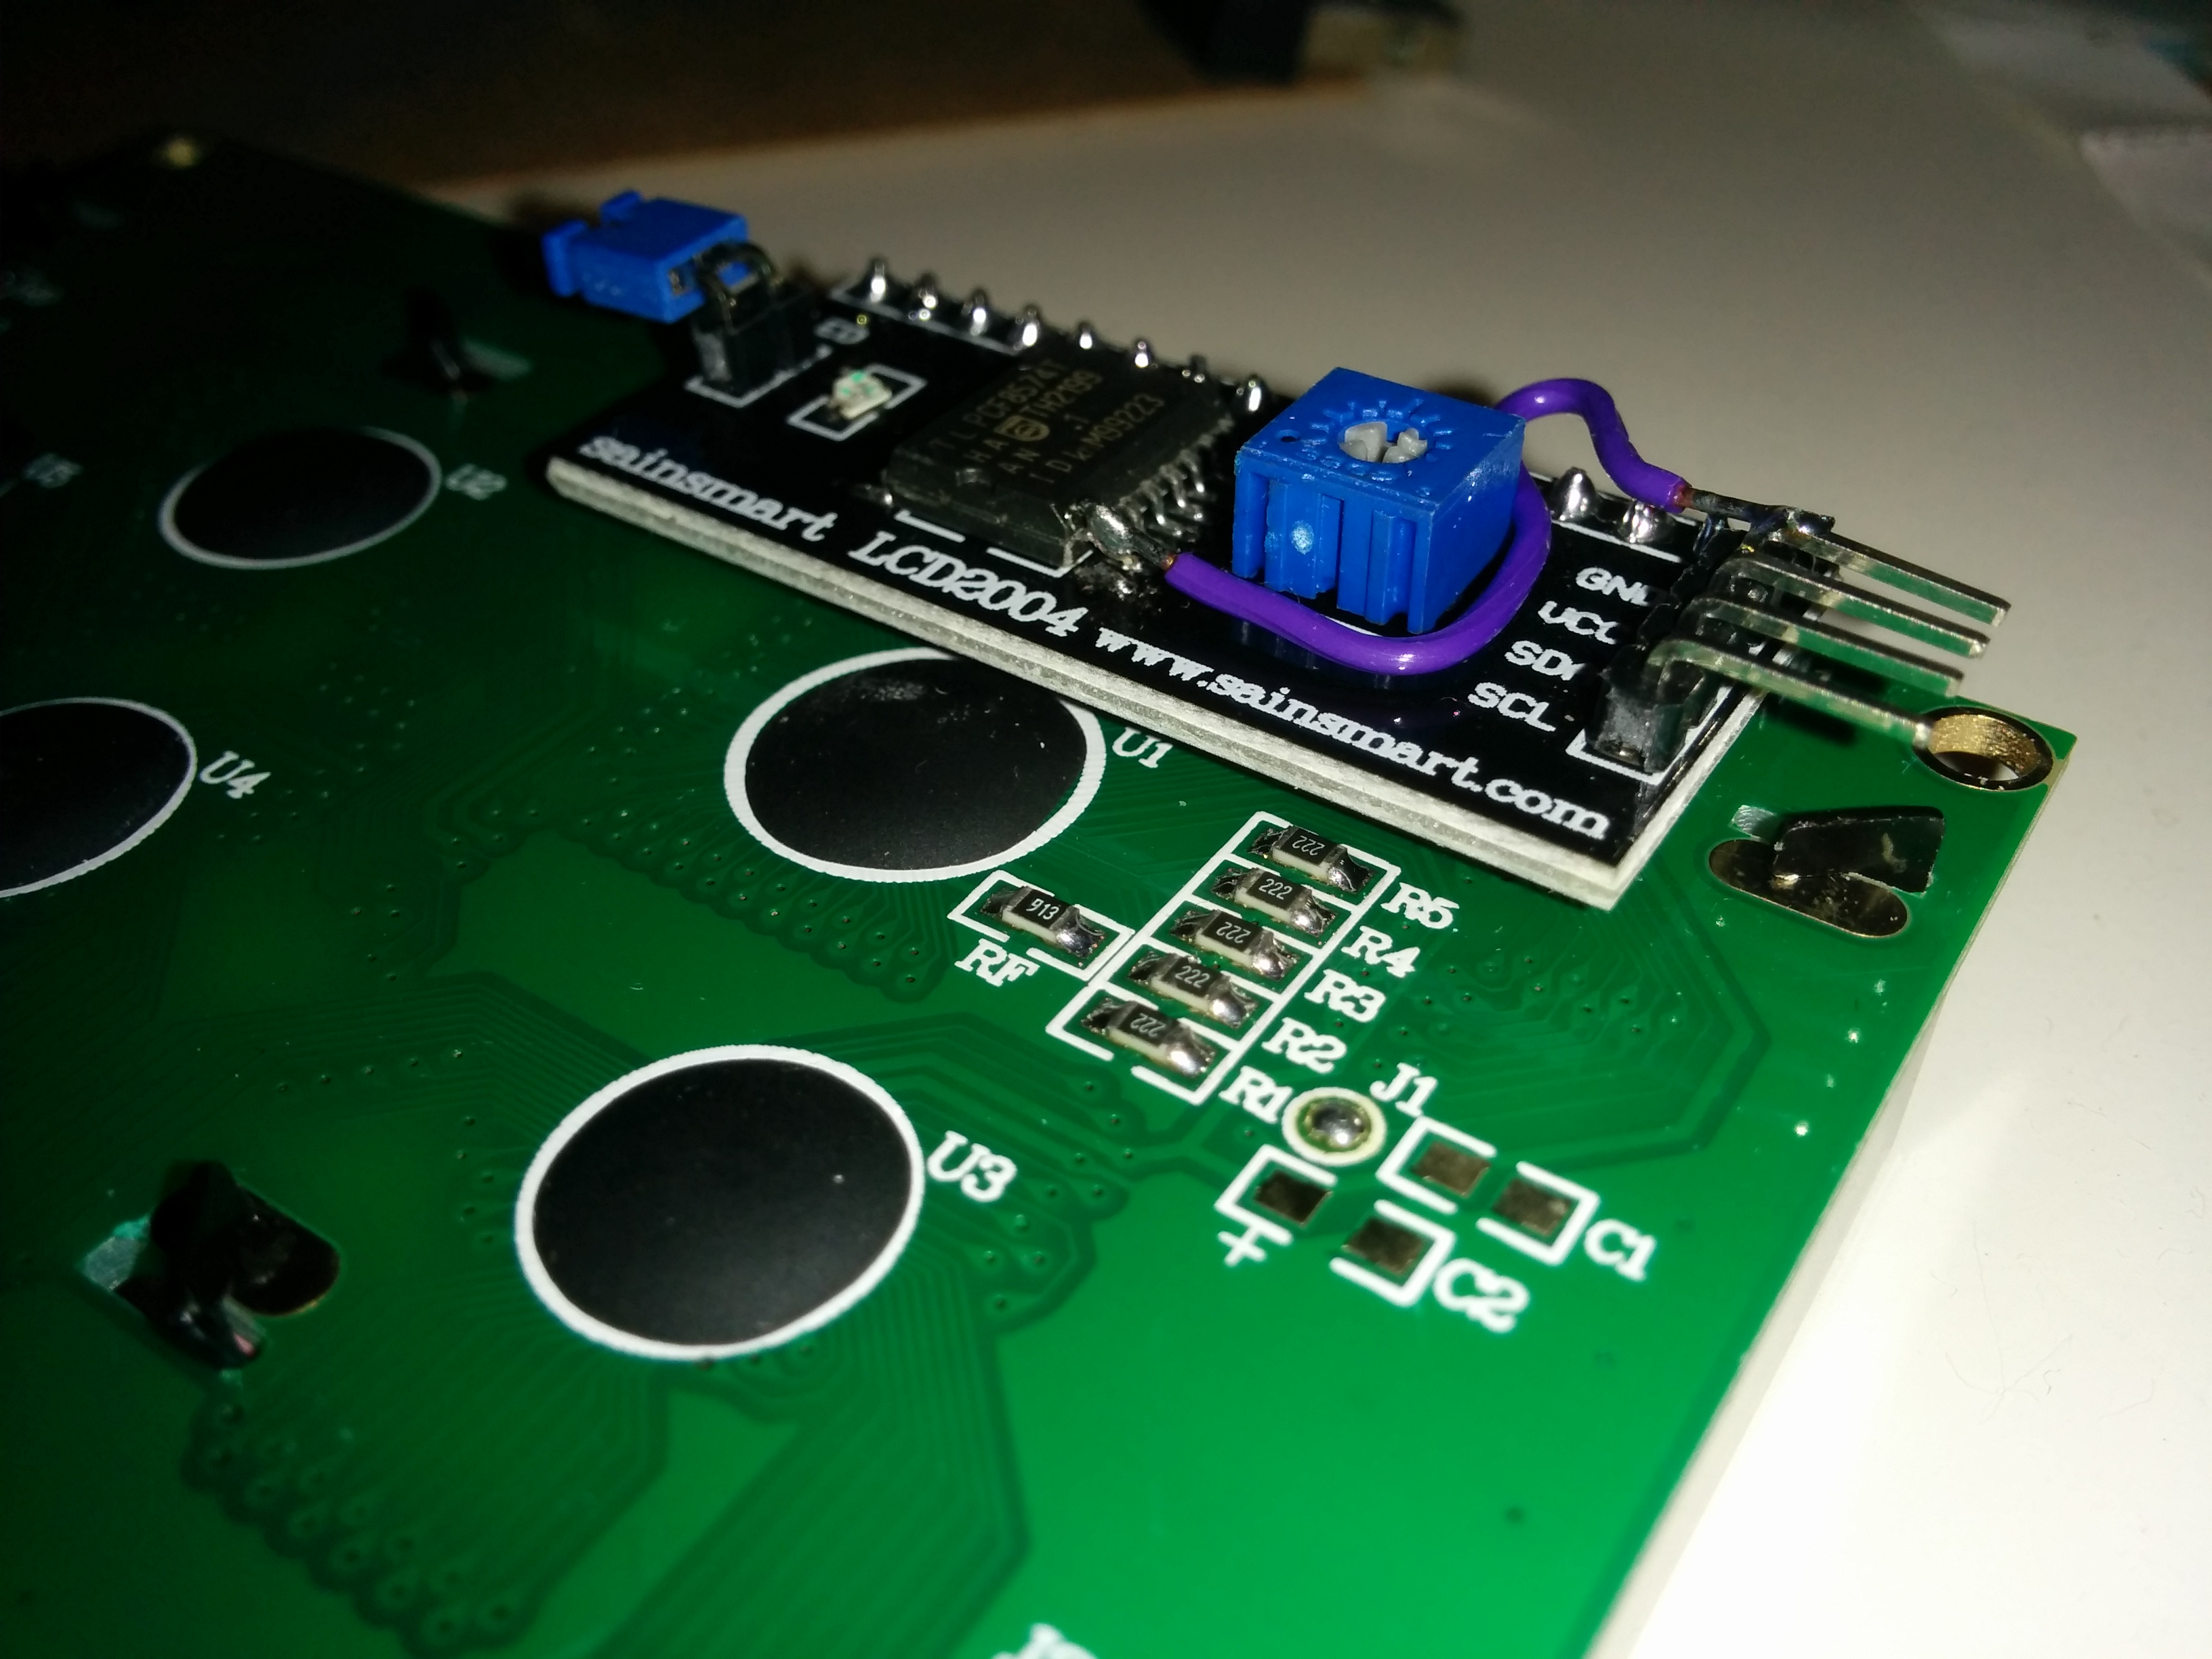
Since both displays always show the same thing I could have left them each having the same I2C address probably and treated them as one display, but I wanted to keep the option open to customize what was shown between the two. For these displays you can change the I2C address by lifting one of the pins on the I2C chip and jumping it to ground:
The finished board in use: